
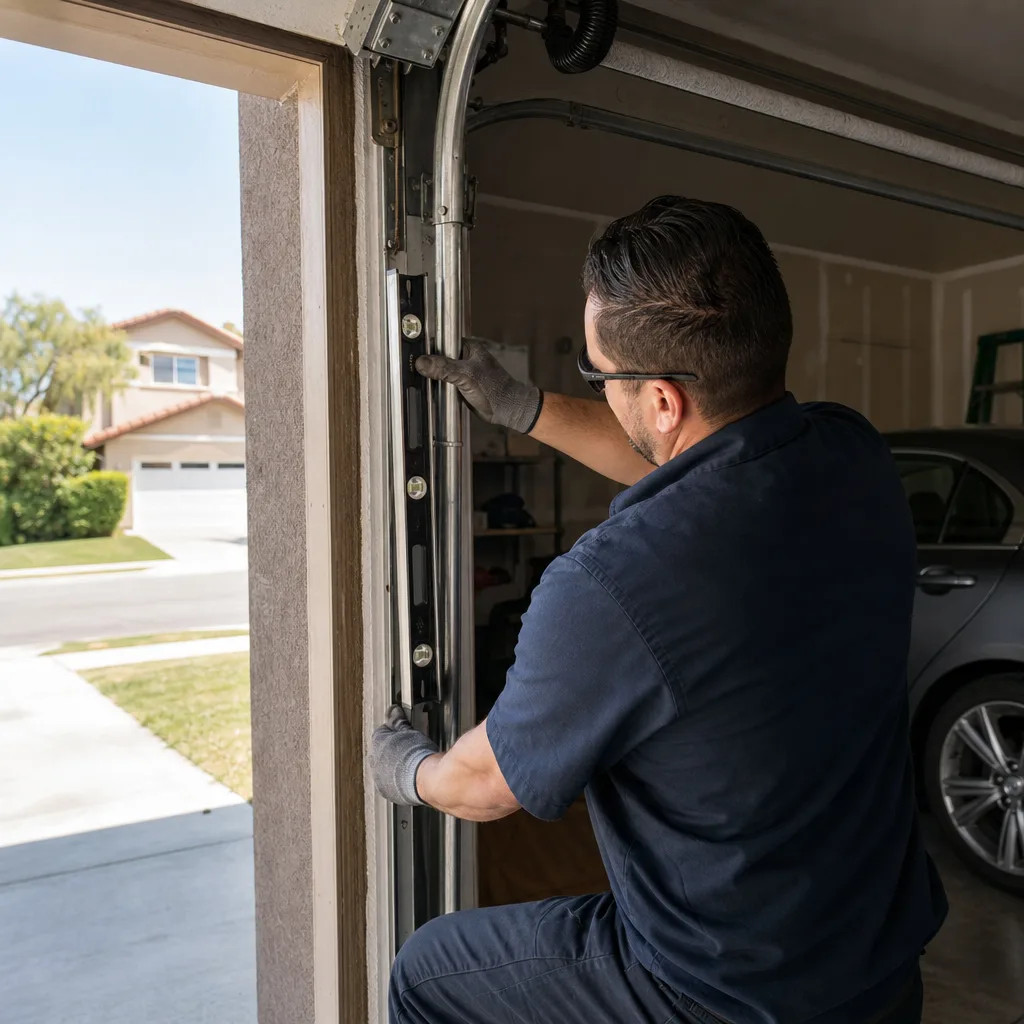
Last updated September 20, 2026
Full 25-point door and opener safety check with every visit - springs, cables, rollers, tracks, and your LiftMaster or Chamberlain opener included
You get a price before we start. It does not change when the truck arrives.
 Before
 After
After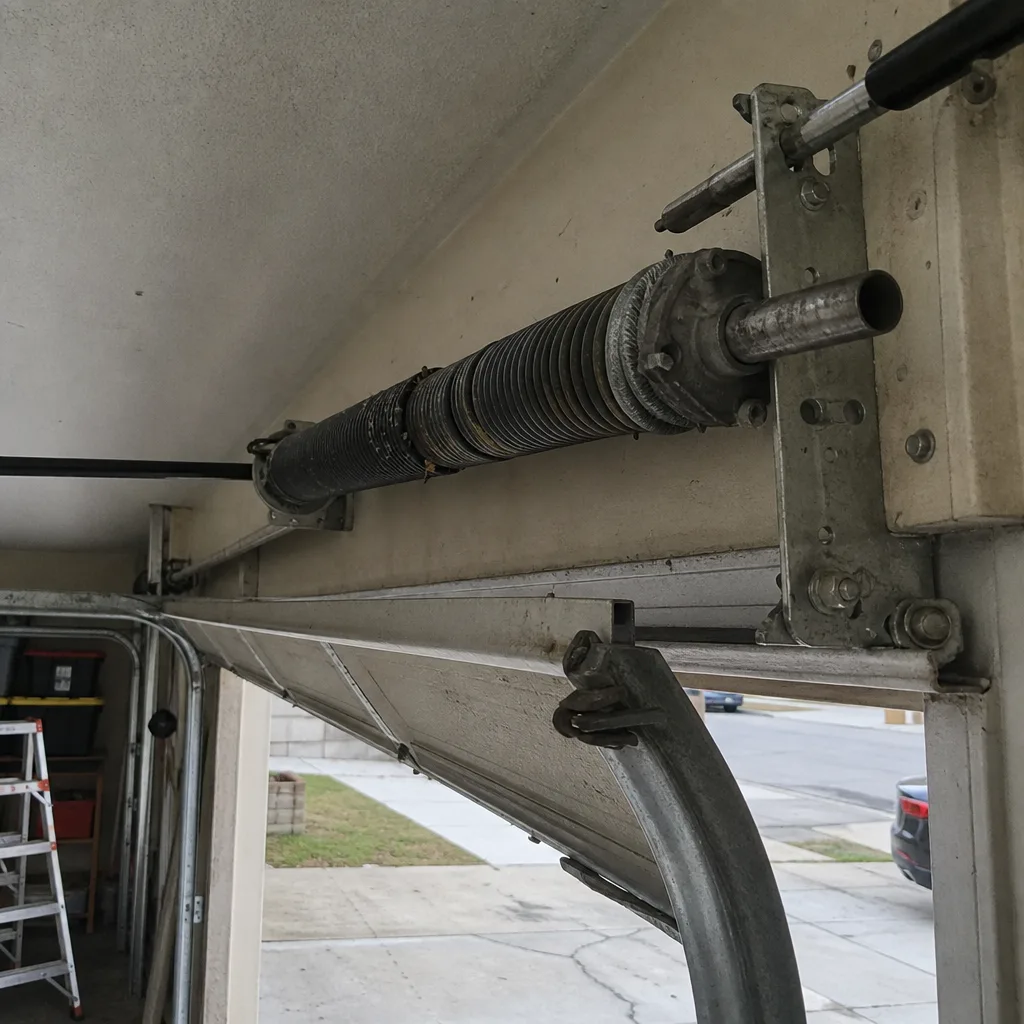 Before
 After
After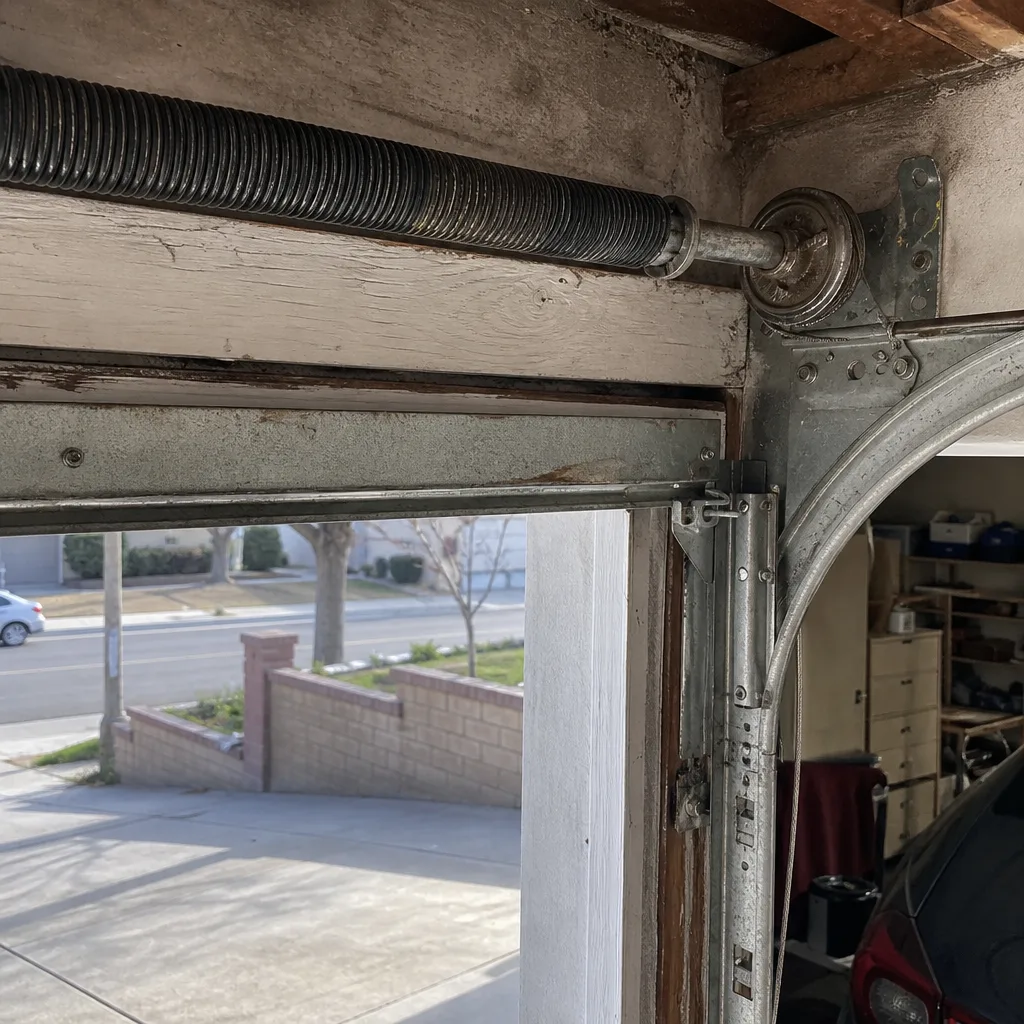 Before
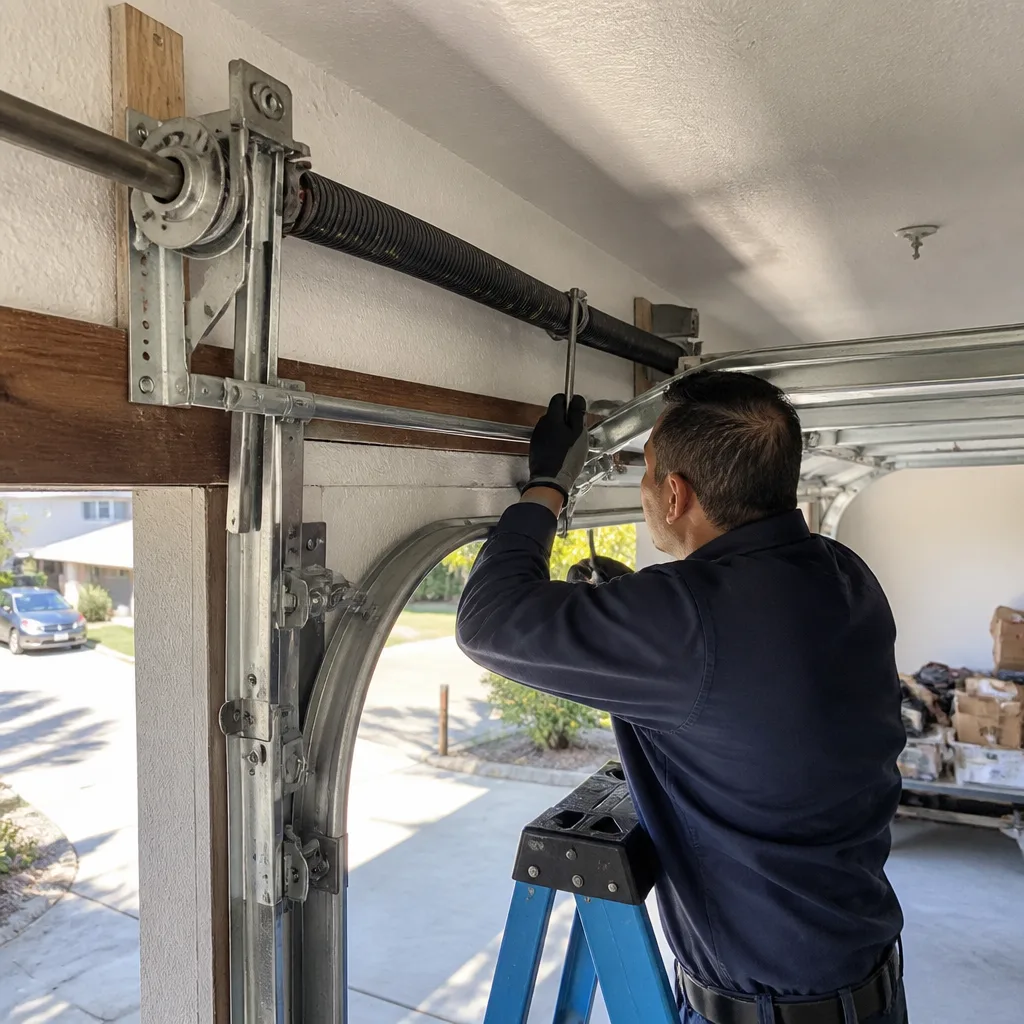 After
AfterGarage Door Repair Maintenance Checklist for Rancho Cucamonga Homeowners
Most garage door maintenance checklists floating around the internet are rewritten versions of a manufacturer PDF written for Ohio or Oregon. Temperate-climate assumptions about lubricant, rubber compounds, and electronics don’t survive an August in Rancho Cucamonga. Our Garage Door Repair service records show the same story every July and August: heat-fatigued torsion springs that snap without warning, bottom seals that crack two years early under Inland Empire UV, and opener circuit boards that fail after a summer of SCE brown-outs. This checklist is built from what we actually document on service calls in Rancho Cucamonga, not from a generic manual.
Quick Answer
A proper garage door maintenance routine in Rancho Cucamonga means monthly visual inspection of rollers and cables, quarterly lubrication with a high-viscosity formula rated above 95°F, twice-yearly torsion spring set-screw torque checks, annual bottom seal inspection with replacement every 2-3 years given local UV exposure, and a voltage test on your opener’s logic board during summer peak-load months. Most of this takes under 30 minutes and prevents the failures we see most often in local service records.
Table of Contents
- Why Standard White Lithium Grease Fails in Rancho Cucamonga Summers
- Torsion Spring Set Screws: The Inspection No Manufacturer Checklist Includes
- Bottom Seal Materials: What Actually Survives Inland Empire UV
- Voltage Testing for LiftMaster and Chamberlain Openers During Peak-Load Months
- The Paper Trail: What to Photograph, Log, and Keep for Warranty Claims
- A Seasonal Maintenance Schedule That Fits Rancho Cucamonga’s Climate
- Common Mistakes to Avoid
- When to Call a Professional
- Frequently Asked Questions
- The Bottom Line
BeforeAfterWhy Standard White Lithium Grease Fails in Rancho Cucamonga Summers
The most common mistake we see in Rancho Cucamonga garages is a can of white lithium grease sitting on the shelf, used faithfully every spring. White lithium grease has a dropping point around 350°F, which sounds fine until you understand what happens at the roller bearing surface. In an enclosed garage during a 105°F day with direct afternoon sun on the door panel, the metal components near the top of the track can reach 140°F to 160°F. At those temperatures, standard white lithium thins to the consistency of vegetable oil. It migrates off the roller bearings, drips down the track, and leaves the bearing running dry by mid-summer.
What holds up in this climate is a heavier synthetic lubricant with a viscosity rating that stays stable above 95°F. We specify a high-viscosity synthetic spray or a purpose-made garage door lubricant with a thickener that doesn’t shear down in heat. The practical difference: after lubrication, the roller should spin with visible resistance for at least two to three seconds. If it free-spins instantly, the lubricant is too thin for the operating temperature.
Here’s what we recommend for Rancho Cucamonga homeowners:
- Synthetic polymer-based garage door lubricant, not standard white lithium. Look for one that lists a service temperature range extending to at least 150°F.
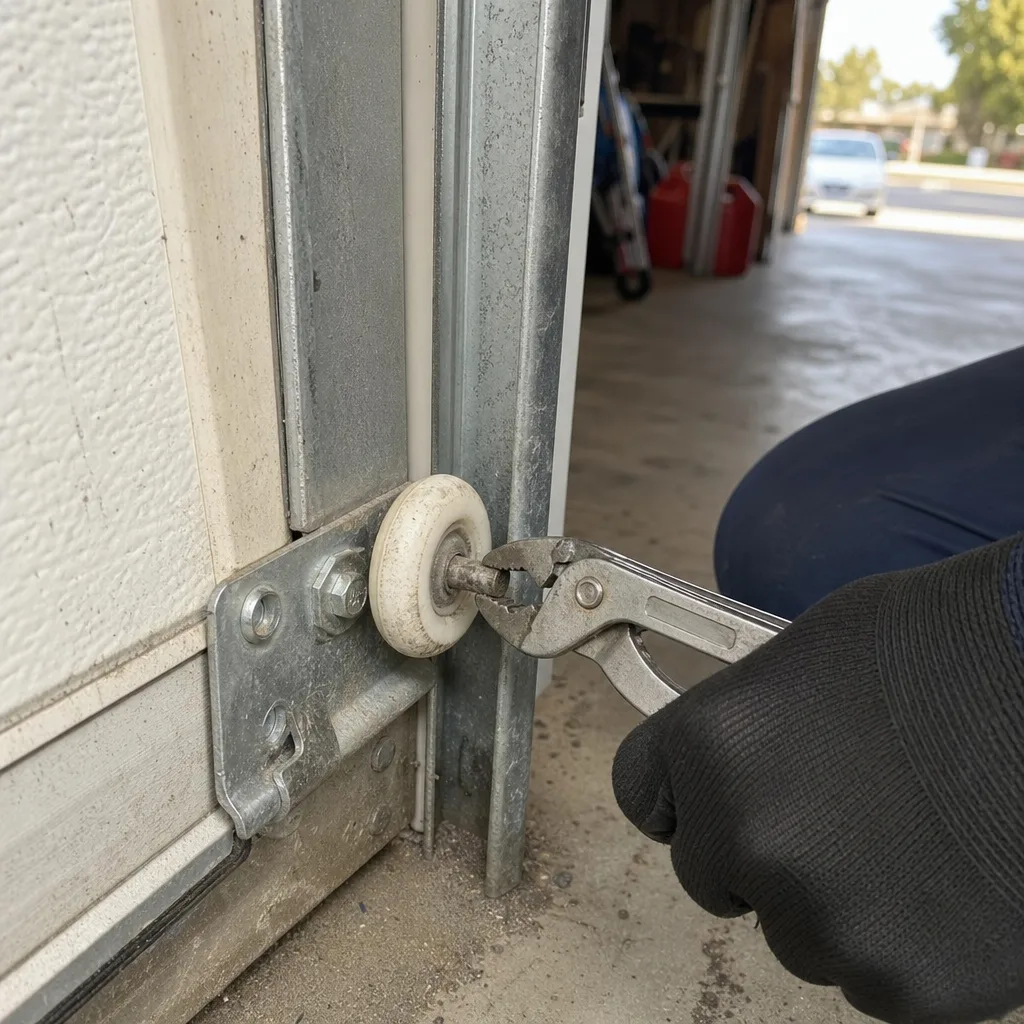
- Apply to roller bearings only, not the track. Lubricating the track attracts dust and creates a grinding paste that accelerates roller wear.
- Two drops per roller bearing, four times per year. More is not better. Excess lubricant flings onto the door surface and attracts grime.
- Lubricate the torsion spring coil gap with a light coat. This reduces friction between coils during the wind and unwind cycle, and gets the lubricant where heat fatigue starts.
- Skip the hinges or use minimal lubricant. Hinges have nylon bushings that don’t need much, and heavy lubricant on hinges just collects dust from the Santa Ana winds.
The frequency matters more than the product. In our experience servicing doors across Rancho Cucamonga, from the foothill neighborhoods north of the 210 to the flats south of Foothill Boulevard, a quarterly lubrication schedule is the difference between rollers that last eight years and rollers that seize at year five.
Torsion Spring Set Screws: The Inspection No Manufacturer Checklist Includes
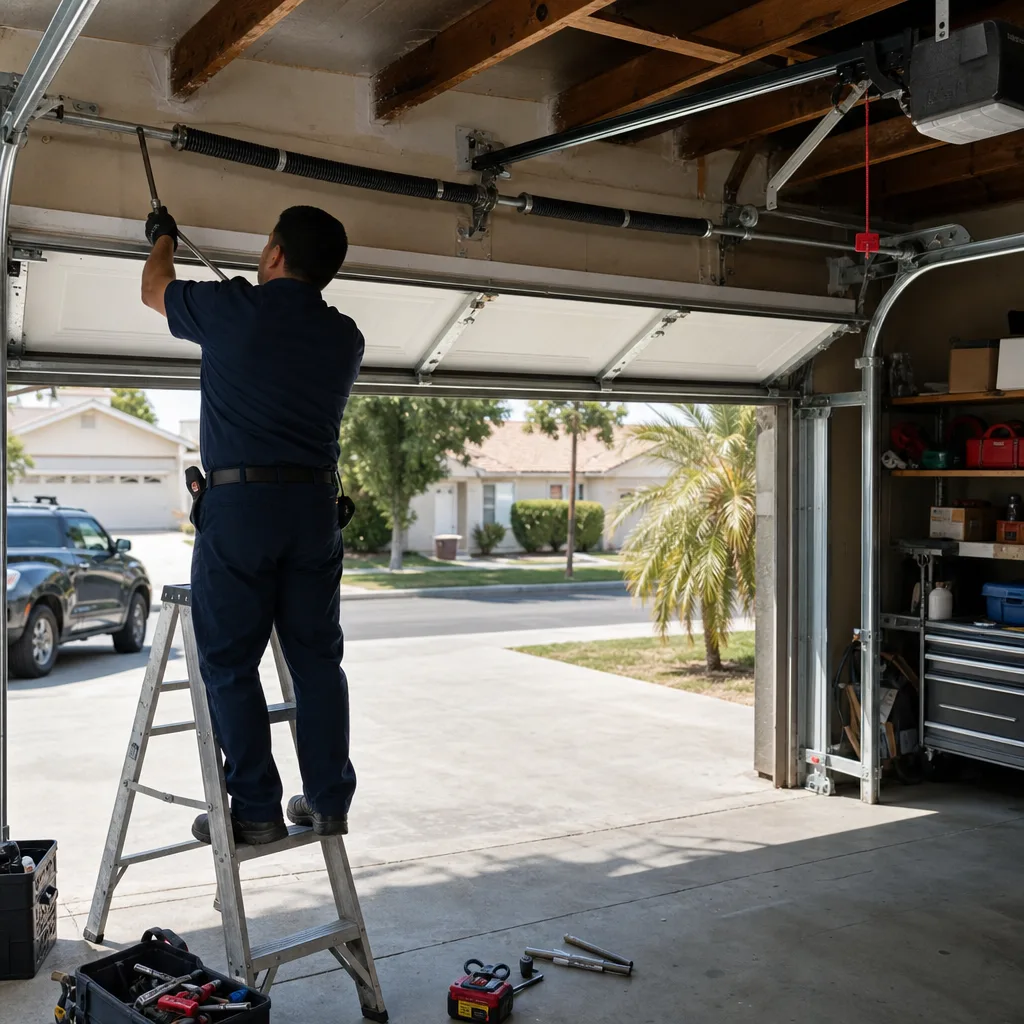
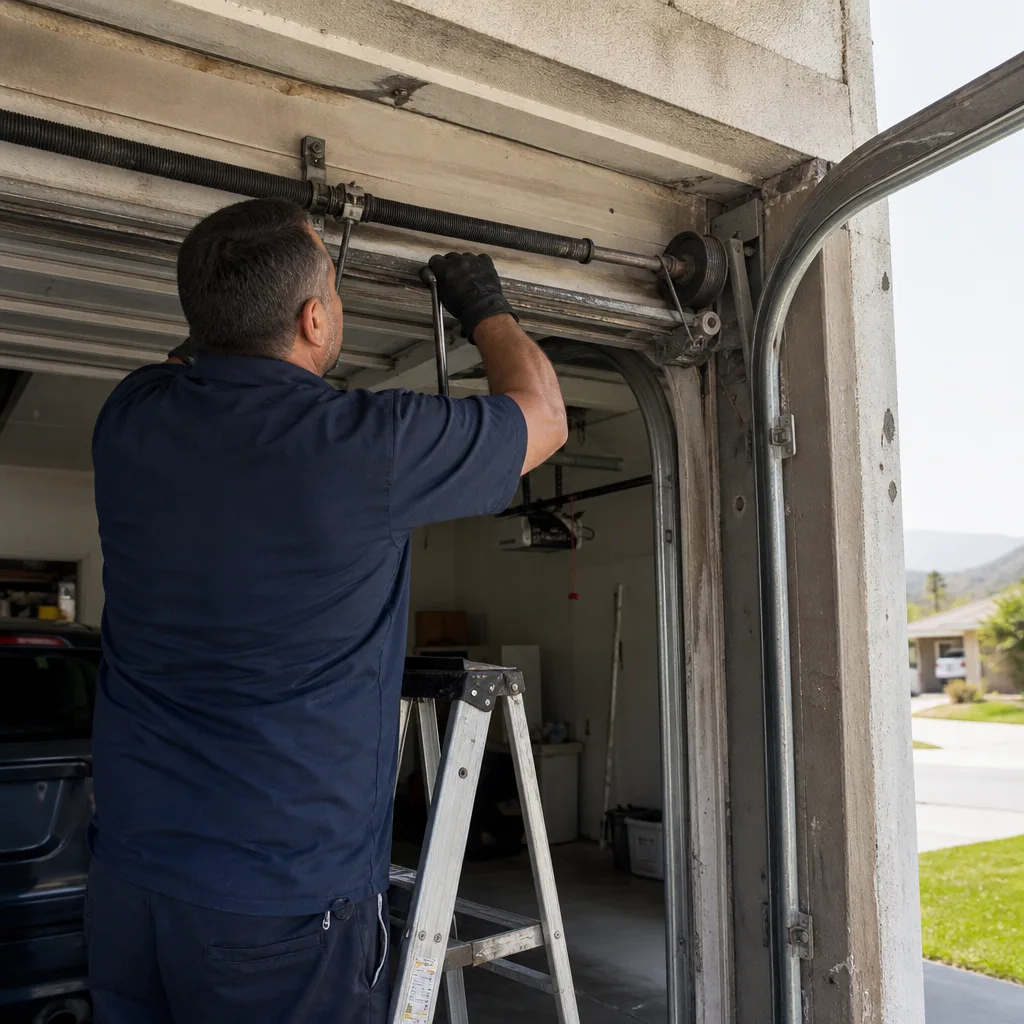
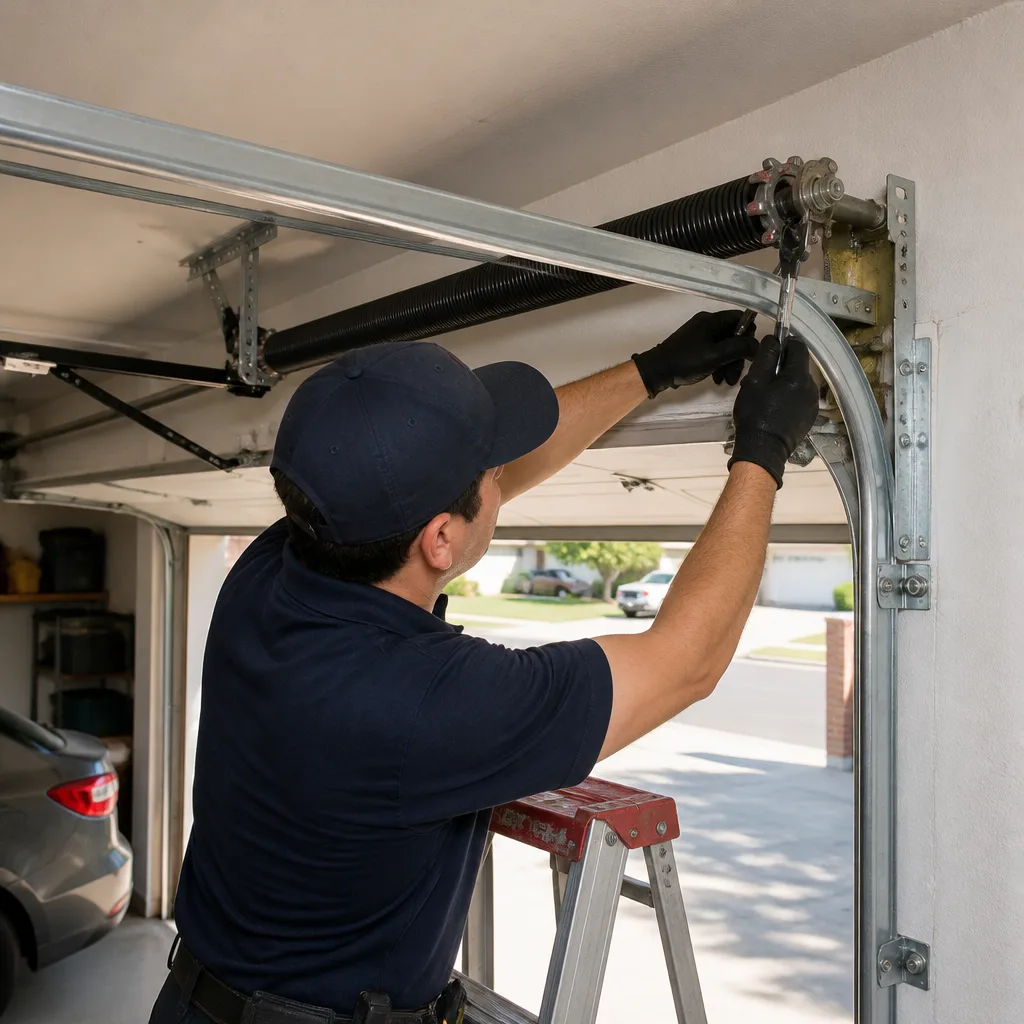
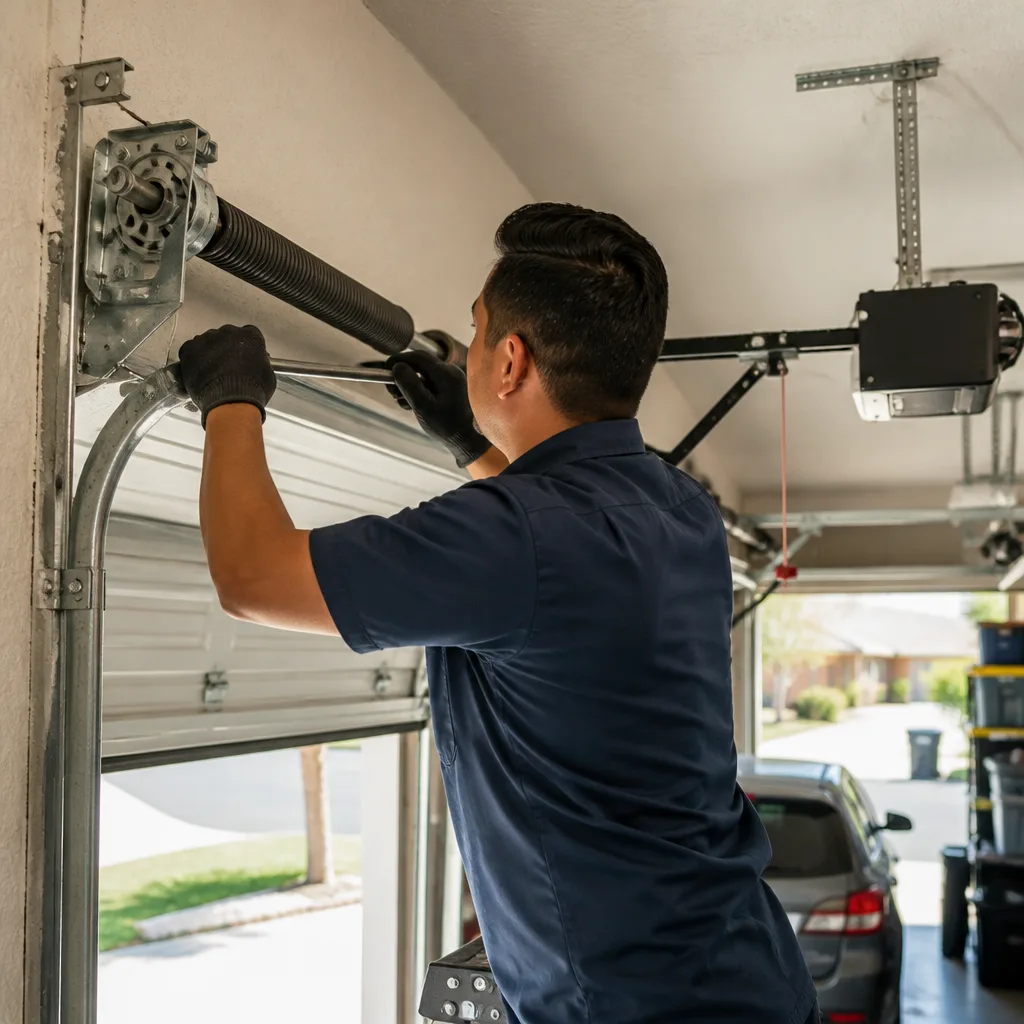
Every manufacturer checklist tells you to inspect torsion springs for rust and visible gaps. What none of them mention is set-screw torque, and this omission shows up repeatedly in our Rancho Cucamonga service records. Here’s the failure sequence: the thermal expansion and contraction of a steel torsion spring on a hot garage door shaft, cycling daily through 30-degree temperature swings, gradually loosens the square-head set screws that anchor the spring cone to the shaft. A loosened set screw allows the spring cone to slip a fraction of a degree per cycle. Over months, the spring loses tension unevenly, the door starts drifting or hanging crooked, and one morning the spring lets go while the door is mid-travel.
This is not a DIY repair task. Torsion springs store enough energy to cause serious injury or death if mishandled. What we’re describing here is an inspection procedure, not a tightening procedure. If you find a loose set screw, that’s a call to a trained technician with the correct winding bars and a torque wrench. Never attempt to re-tighten a torsion spring set screw yourself. The spring is under tension, and the screw can strip or the cone can shift without warning.
Here’s how to inspect torsion spring set screws safely:
- Close the garage door completely. This puts the springs under maximum tension. Never inspect set screws with the door open.
- Stand on a ladder at the side of the spring, never directly in front of the spring cone. If a set screw fails, the cone rotates violently along the shaft.
- Look at each set screw head. The two set screws on each spring cone should sit flush with the cone surface. If one is backed out even a single turn, that’s a red flag.
- Check for rust staining around the screw head. This indicates the cone has been slipping and grinding metal against the shaft.
- Look for scratches or gouge marks on the shaft where the set screw meets the bar. Smooth, polished marks mean the cone has been moving.
- If you find any of these signs, call a professional. This is not a hand-tighten-and-move-on situation.
We document these findings with photographs on every service call. It’s Clause 4 of The Haven Standard: the customer sees the failed part before anyone quotes a replacement. When a set screw has backed out and scored the shaft, the photo record shows exactly what happened, and the written scope shows exactly what it costs to fix it right.
Bottom Seal Materials: What Actually Survives Inland Empire UV
The single most common repair we document in Rancho Cucamonga isn’t a broken spring. It’s a bottom seal that failed two years early because it was rated for coastal UV exposure, not Inland Empire sun. The bottom seal, also called the astragal, is the rubber or vinyl strip along the bottom edge of the garage door. It keeps water, dust, leaves, and rodents out, and it takes a beating from direct afternoon sun on south-facing and west-facing doors.
Here’s the material breakdown, ranked by lifespan under Rancho Cucamonga’s UV index, which averages 8-10 from May through October:
- EPDM rubber (ethylene propylene diene monomer): The longest-lived option. EPDM is inherently UV-stable and ozone-resistant. Under local conditions, it lasts 4-6 years before showing meaningful cracking or compression set. Costs more up front, but the per-year cost is the lowest.
- PVC (polyvinyl chloride): Flexible and cheap, but PVC breaks down under sustained UV exposure faster than EPDM. Expect cracking at the flex points, especially where the seal folds under the door, within 2-3 years. Southern California sun accelerates plasticizer migration, which is what makes the seal get stiff and brittle.
- Vinyl blends: Common on budget doors and big-box replacement kits. Vinyl seals lose flexibility fast in this climate. We routinely replace vinyl astragals at the 18-month to 2-year mark. They’re not a good value for a Rancho Cucamonga door that faces west or south.
The replacement interval depends on door orientation. A north-facing door in a shaded Rancho Cucamonga neighborhood might get four or five years out of an EPDM seal. A west-facing door with direct afternoon exposure should be inspected every spring and fall, and expect replacement every two to three years regardless of material claim.
Inspection is simple: run your hand along the bottom seal with the door closed and look for daylight. Gaps, cracks, or flat spots that don’t rebound when you press on them mean the seal is done. If you can see light under the door at any point along its width, the seal has failed and you’re already losing conditioned air, inviting dust from the Santa Anas, and leaving a gap for pests.
Voltage Testing for LiftMaster and Chamberlain Openers During Peak-Load Months
Southern California Edison brown-outs are a documented reality in the Inland Empire during summer peak-load months. What most homeowners don’t realize is that repeated low-voltage events degrade the logic boards in modern garage door openers. The most common failure we document on LiftMaster and Chamberlain opener repair calls is a logic board that worked fine for six years, then died after a summer of voltage sag and recovery cycles.
A brown-out happens when SCE drops voltage below 110V to manage grid demand. Most openers are rated for 120V ±10%, which means anything below 108V is out of spec. During a brown-out, the opener’s transformer outputs lower voltage to the logic board. The board compensates, heats up, and eventually a capacitor or voltage regulator fails. The failure is rarely dramatic: sometimes the opener stops responding to remotes, sometimes the limit switch stops working, sometimes the wall console goes dark.
Here’s the testing protocol we recommend for Rancho Cucamonga homeowners during July, August, and early September:
- Purchase a plug-in voltage meter (under $30 at any hardware store). Plug it into the same outlet as your garage door opener.
- Check voltage at three times of day: early morning, mid-afternoon peak (2-6 PM), and evening. Record all three readings.
- If any reading is below 110V, note the date and time. A single reading is concerning. Repeated low readings over multiple days indicate a pattern that’s stressing the board.
- Consider a surge protector rated for motor loads, installed between the outlet and the opener. This won’t fix brown-outs, but it will protect against the voltage spikes that occur when power is restored.
- If your opener starts behaving erratically (inconsistent travel, remote hash, random reversing), note whether the behavior correlates with hot afternoons. That correlation is a strong signal of voltage-related board stress.
This is a documentation exercise, not a repair procedure. The value is in the record: when a homeowner brings us a log showing three weeks of 104V readings followed by a dead board, we know what happened. The paper trail changes the conversation with the manufacturer’s warranty department and with your insurance company. Marcus Deller has spent a decade building Servo Garage Doors Rancho Cucamonga home service protocols around documentation, and the voltage log is one of the most useful records a homeowner can keep.
The Paper Trail: What to Photograph, Log, and Keep for Warranty Claims
A maintenance checklist is only as good as the record it leaves behind. When a garage door component fails under warranty, the manufacturer asks for proof of maintenance. Most homeowners have nothing. We see this every week in Rancho Cucamonga: a homeowner files a warranty claim for a failed spring or opener board, and the manufacturer denies it because there’s no service history. That’s why we build a documented photo record into every visit. Clause 4 of The Haven Standard exists because the founding rule at Servo was, and still is, that the customer sees the failed part before anyone quotes a replacement.
Here’s the record-keeping format we recommend for every Rancho Cucamonga homeowner doing their own maintenance:
- Photograph every component you inspect: torsion springs (both cones), bottom seal full width, each roller cluster, cable drum, opener logic board if you open the cover, and the wall console. Date the photos. Your phone does this automatically.
- Log the date, the action taken, and the product used. A simple note like “March 15 - lubricated all 12 rollers with synthetic garage door lube, tight-wiped excess from track” is enough.
- Store photos and logs in a single folder, titled “Garage Door Maintenance,” backed up to cloud storage. If you sell the house, this folder is a selling point. If you file a warranty claim, it’s evidence.
- Photograph any abnormal finding before you repair it. A hairline crack in a bottom seal, a rust stain at a set screw, a frayed cable strand. The before photo is what a warranty department or an insurance adjuster needs.
- Keep purchase records for parts. The date you bought a replacement seal, the brand, and the receipt. Warranty periods start on the purchase date, not the install date.
This might feel like overkill for a garage door. It isn’t. When a torsion spring fails at month 23 of a 24-month warranty period, the difference between a covered replacement and a denied claim often comes down to whether you can prove the spring was inspected and lubricated on a schedule. The paper trail is the point.
A Seasonal Maintenance Schedule That Fits Rancho Cucamonga’s Climate
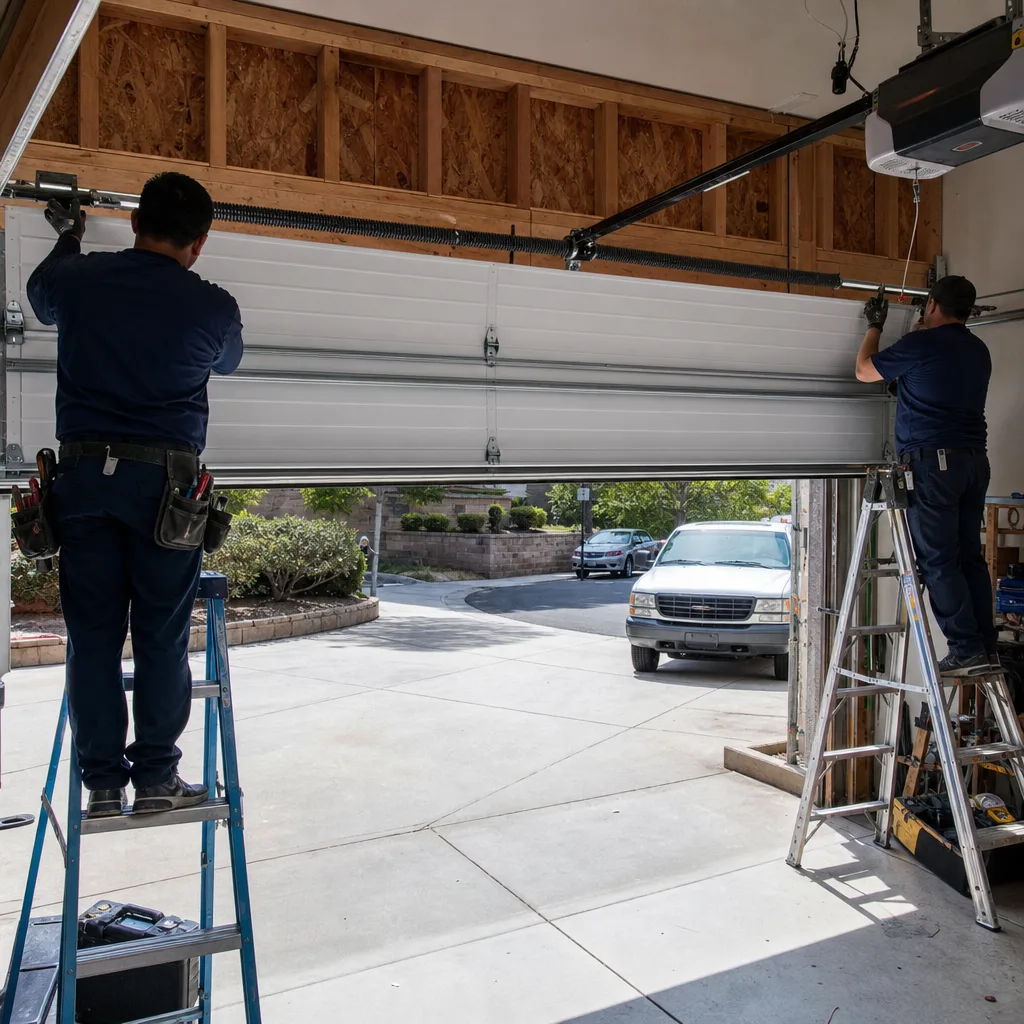
Rancho Cucamonga has a climate that doesn’t match the national four-season maintenance rhythm. We get mild winters with occasional heavy rain, hot dry summers with intense UV, and Santa Ana wind events in the fall that push dust into every gap. The maintenance calendar should bend to that reality.
Early spring (February to March):
- Full visual inspection of all moving parts: rollers, hinges, cables, springs, track alignment.
- Lubricate all roller bearings and the torsion spring coil gap with high-viscosity synthetic lubricant.
- Test the door balance: disconnect the opener and manually lift the door to waist height. It should hold position without drifting. If it falls or rises, the springs need professional attention.
- Check the auto-reverse safety feature on the opener by placing a 2×4 in the door path and closing. The door should reverse within two seconds of contact.
Late spring (May to early June):
- Inspect the bottom seal for early signs of UV cracking. This is the season when seals that made it through last year start showing stress.
- Check torsion spring set screws with the inspection protocol described above.
- Clean the photo-eye sensors on both sides of the door opening with a dry cloth. Dusty sensor lenses are a constant issue during dry-season winds.
- Check opener force settings. If the door requires more force than it did last year, something is binding.
Summer (July to September):
- Run the voltage testing protocol on the opener outlet weekly during peak-load advisories.
- Re-lubricate rollers that have been through the first heat waves. High-viscosity lubricant lasts, but it doesn’t hurt to check.
- Inspect cables for fraying. Heat doesn’t cause cable fraying, but it accelerates the consequences: a frayed cable under heat-expanded tension fails faster.
Fall (October to November):
- Full seal inspection after the first Santa Ana event. Blowing sand abrades seal surfaces and works into roller bearings.
- Clean the track channels with a dry brush. Never lubricate the tracks, just remove debris.
- Check the opener’s emergency release mechanism for smooth operation.
- Inspect weatherstripping around the door frame and the header seal. Gaps at the top and sides let dust and heat in.
Winter (December to January):
- Test the opener’s battery backup if equipped. This is the season for power outages from winter storms.
- Check the door’s balance again. Cold doesn’t affect springs as much as heat, but it’s a six-month interval from the spring check.
- Review the maintenance log and plan the next season’s parts budget. If the bottom seal is two years old, put a replacement on the calendar.
This schedule takes about two hours per year total, spread across five sessions. Most of it can be done without tools. The torsion spring inspection and the voltage test are documentation exercises, not repair tasks. When something in this schedule reveals a problem, that’s the moment to call a professional who will photograph the finding and give you a written price before touching anything.
Common Mistakes to Avoid
- Using WD-40 as a lubricant. It’s a solvent and water displacer, not a lubricant. It strips existing lubricant and accelerates roller bearing wear. We see this mistake more than any other in Rancho Cucamonga garages.
- Lubricating the track. The track is a guide, not a bearing surface. Lubricant in the track attracts the fine dust from dry-season winds and creates an abrasive slurry that grinds rollers down faster.
- Skipping the set-screw inspection because it’s not in the manufacturer manual. Heat-induced set-screw loosening is a documented failure mode in this climate. It should be checked every six months without fail.
- Replacing a bottom seal with the same cheap vinyl that just failed. You can save $15 on the part and pay for it again in 18 months, or spend slightly more on EPDM and skip the second replacement. The math works out in favor of the better material.
- Ignoring erratic opener behavior in July and August as a fluke. A Limit switch that intermittently fails during peak-load afternoons is often the first warning sign of voltage-related board damage. Note it, log it, and test the outlet voltage.
- Not keeping records at all. A maintenance routine without documentation is a memory, not a maintenance history. When the warranty claim needs evidence, memories don’t count.
- Attempting to adjust torsion springs without the correct winding bars and training. This is how serious injuries happen. The inspection is safe. The adjustment is not. Never cross that line.
When to Call a Professional
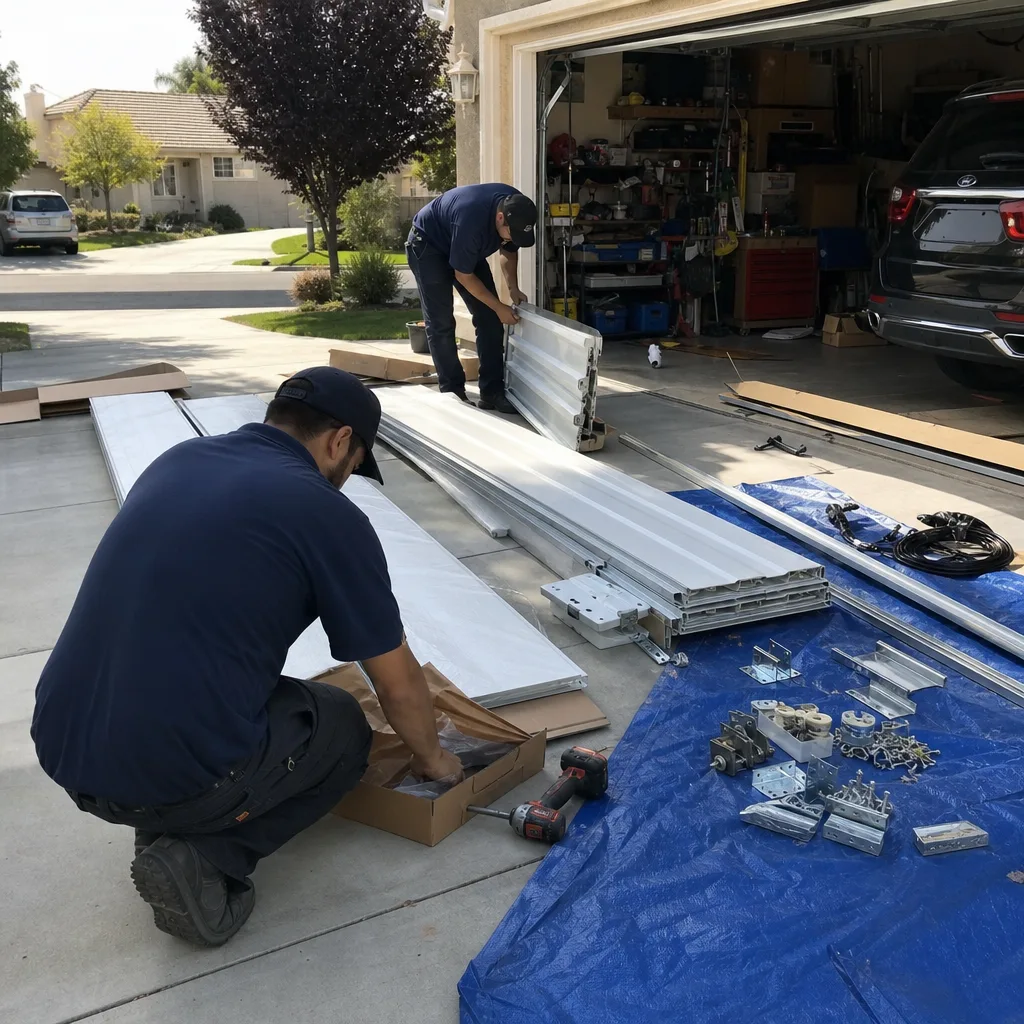
Some maintenance findings should never turn into DIY fixes. If you find a loose torsion spring set screw, a frayed cable, a cracked roller, a door that won’t balance, or an opener board that’s behaving erratically after a brown-out, stop and call a professional. These are high-tension and high-voltage components, and the consequences of getting them wrong are serious injury or a door that comes off its tracks mid-operation. The safety caveat here isn’t boilerplate: torsion springs and cables are the parts that kill people who try to fix them without proper tools and training.
Servo Garage Doors Rancho Cucamonga offers free estimates on all garage door repair work, and every quote is a flat, written price delivered before any work starts. It’s Clause 1 of The Haven Standard, and it means you know exactly what the repair costs before you agree to it. If you’ve already got a written estimate from another company, bring it. We’ll do a free second opinion and show you what we found with a photo record. Call (909) 498-8655 and a real person answers, 24/7.
Frequently Asked Questions
Every three months, using a high-viscosity synthetic lubricant rated for service above 95°F. The Inland Empire’s summer heat breaks down standard white lithium grease quickly, and quarterly application is the interval that keeps roller bearings from running dry between maintenance sessions. Call (909) 498-8655 if you’d like a product recommendation for your specific door.
DIY maintenance runs roughly $20-40 per year for lubricant and occasional replacement parts like bottom seals. If you hire a professional for an annual inspection and tune-up, expect to pay in the range of $85-150 depending on the condition of the door and the number of components serviced. Servo Garage Doors Rancho Cucamonga gives you a written price before any work starts, so there’s no surprise on the invoice.
EPDM rubber seals last 4-6 years under local UV conditions. Vinyl seals typically fail at the 18-month to 2-year mark, and PVC falls somewhere in between at 2-3 years. Your replacement interval depends on door orientation: a west-facing door with direct afternoon exposure will wear a seal faster than a north-facing one in shade.
Lubrication, seal inspection, voltage testing, and visual checks are all safe DIY tasks. Torsion spring adjustment, cable replacement, and any repair involving high-tension components should always go to a trained professional. The line between safe and dangerous is clear: if it involves a winding bar or a cable under tension, it’s a professional job. Thoughtful homeowners handle the maintenance and call a professional for anything involving springs and cables.
Based on our service records, the most common problem is a UV-failed bottom seal on west-facing and south-facing doors. The second most common is heat-fatigued torsion springs. The third is opener logic boards damaged by summer brown-out voltage swings. All three are preventable or manageable with the maintenance schedule described in this guide.
Yes, and the evidence is in the failure patterns. Doors that receive quarterly lubrication and twice-yearly set-screw inspections fail less often and fail less expensively than doors that run untouched. Regular inspection catches problems when they’re a $40 repair instead of a $400 one. The value of maintenance is in catching the small thing before it becomes the big thing. Call (909) 498-8655 if you want a professional inspection with a documented photo record.
The Bottom Line
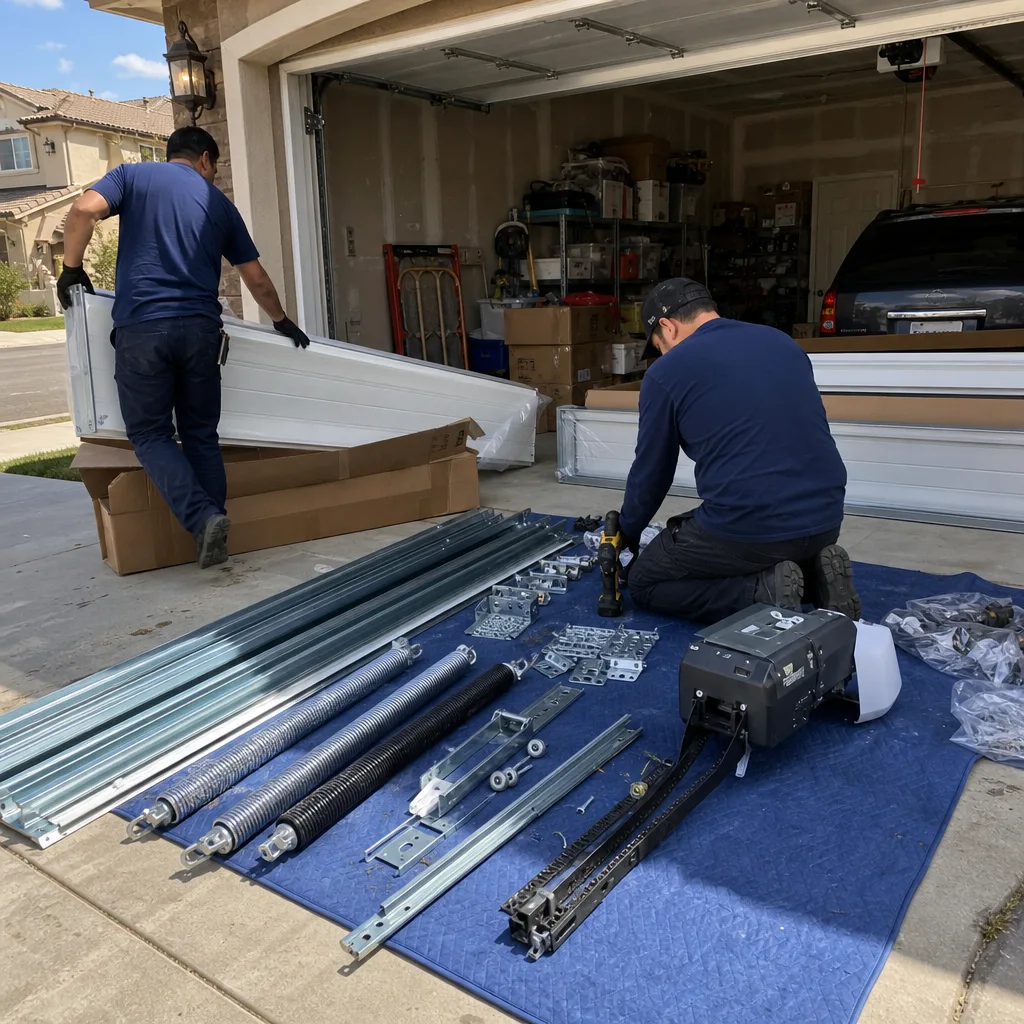
Rancho Cucamonga’s climate doesn’t match the manufacturer assumptions that most maintenance checklists are built on. The sun is stronger, the summers are hotter, and the power grid is more volatile than what a generic manual assumes. That’s why this guide is built from local service records rather than a PDF from a factory in Ohio. Four tasks make up the core of effective maintenance here: quarterly lubrication with heat-rated synthetic lubricant, twice-yearly torsion spring set-screw inspection, annual bottom seal replacement planning with EPDM material selection, and summer voltage monitoring on your opener outlet. Combined with a photo and documentation habit, these tasks prevent the most common failures we see in Rancho Cucamonga and leave a paper trail that makes warranty claims straightforward. For more guides & resources, visit our blog.
When something in this checklist reveals a problem, garage door repair in Rancho Cucamonga is one call away. If the door itself is beyond repair and you’re weighing garage door installation in Rancho Cucamonga, we’ll walk you through the options with a written scope before you commit to anything. Servo Garage Doors Rancho Cucamonga offers free estimates, documented photo records on every visit, and a 365-Day Done Right Promise. Call (909) 498-8655 for a flat, written price before any work starts.
Written by Marcus Deller, Owner at Servo Garage Doors Rancho Cucamonga, serving Rancho Cucamonga since 2015.