
Last updated September 20, 2026
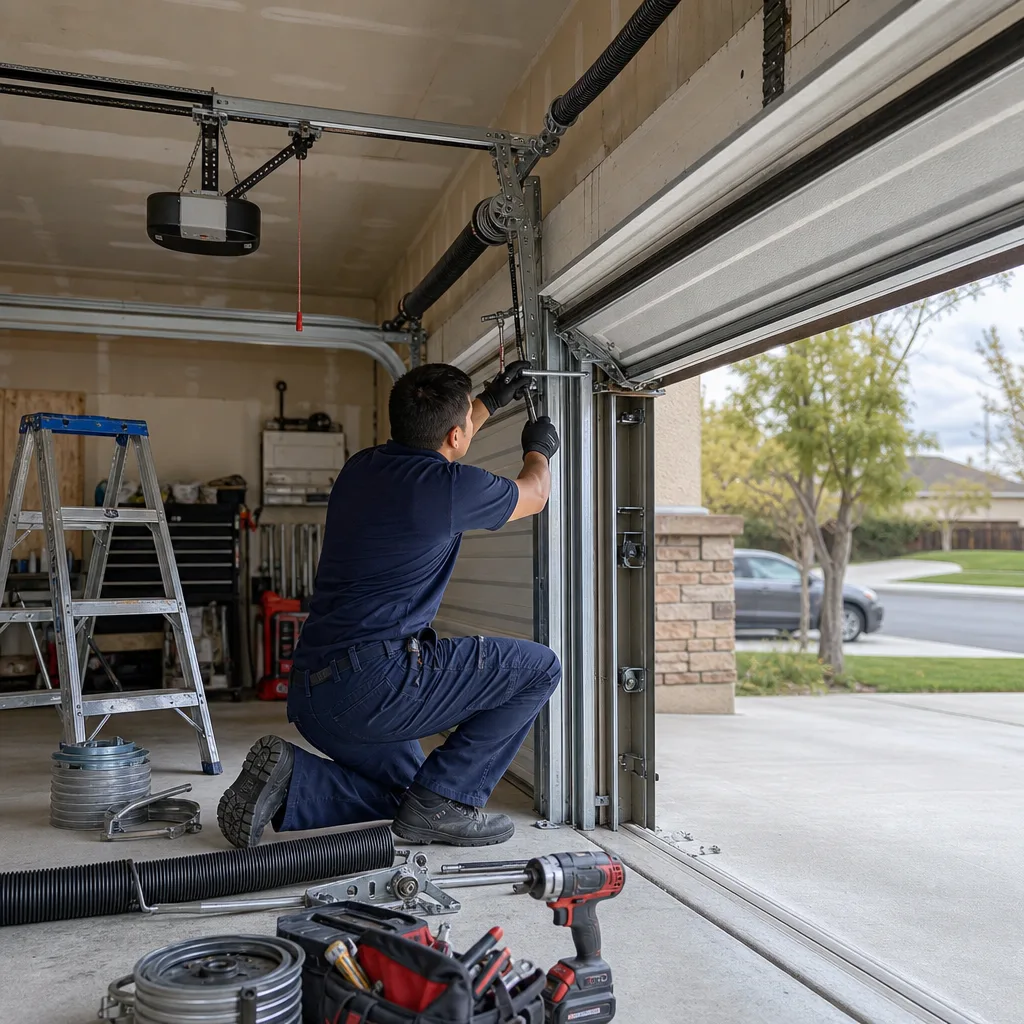
Full 25-point door and opener safety check with every visit - springs, cables, rollers, tracks, and your LiftMaster or Chamberlain opener included
You get a price before we start. It does not change when the truck arrives.
 Before
 After
After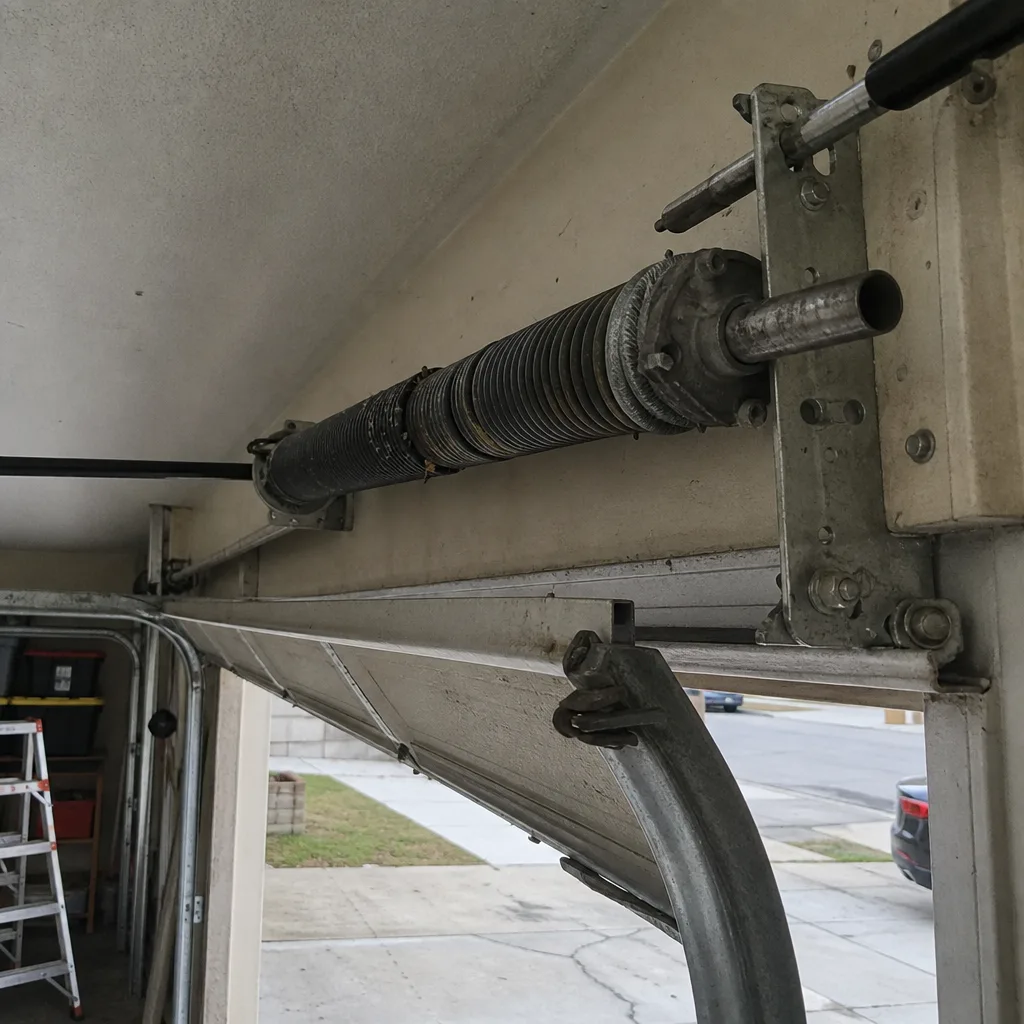 Before
 After
After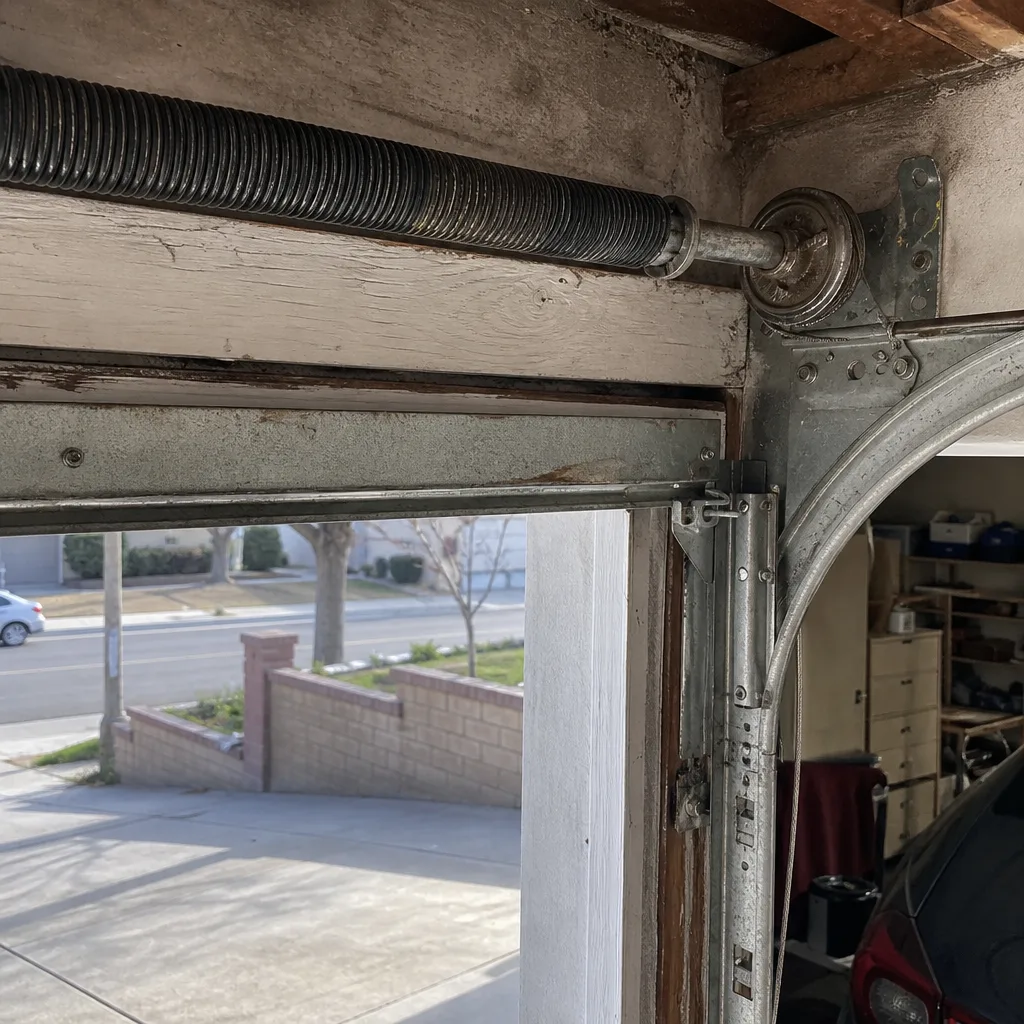 Before
 After
AfterGarage Door Warning Signs: A Rancho Cucamonga Homeowner’s Reference Guide
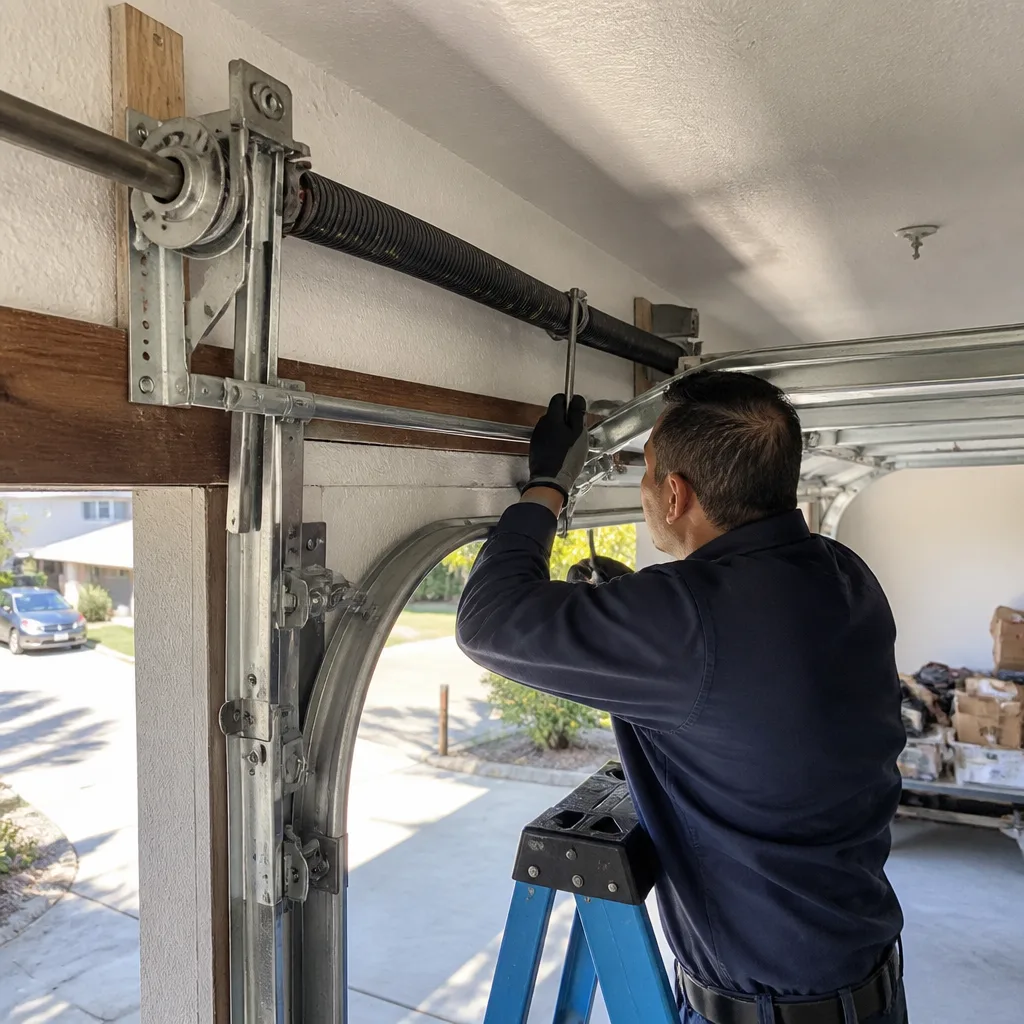
A torsion spring under full tension holds roughly 300 pounds of stored energy. It gives almost no auditory warning before it fails. The inspection point is visual, and it’s a ten-second check most Rancho Cucamonga homeowners have never been shown. This complete guide to garage doors in Rancho Cucamonga teaches you what to look at, not just what to listen for. We’ll walk through the silent failure patterns that Inland Empire heat accelerates, how to place your door on a wear scale, and what to document before you call anyone.
Quick Answer
The most serious garage door warning signs in Rancho Cucamonga are often silent: a corroded torsion spring showing coil separation, cable strands fraying where they wrap the drum, and hairline cracks spreading from the bottom bracket bolts. A homeowner can spot all three with a flashlight and ten minutes. If any are present, the door needs professional attention within days, not weeks. The average torsion spring cycle life in our climate is 7-9 years, and Rancho Cucamonga’s summer heat cycling routinely shortens that.
Table of Contents
- The Torsion Spring Visual Inspection: What a Fatigued Coil Actually Looks Like
- Cable Fraying at the Drum and Bottom Bracket: Early, Middle, and Late-Stage Wear
- The Door Balance Test: A Two-Minute Check That Tells You Everything
- Operator Strain Indicators: What the Motor Tells You Before It Burns Out
- Track, Roller, and Hinge Noise: Separating Normal from Failure
- Bottom Bracket Cracks: The Most Dangerous Problem Nobody Photographs
- What to Document When You See a Warning Sign
- Common Mistakes to Avoid
- When to Call a Professional
- Frequently Asked Questions
- The Bottom Line
BeforeAfterThe Torsion Spring Visual Inspection: What a Fatigued Coil Actually Looks Like
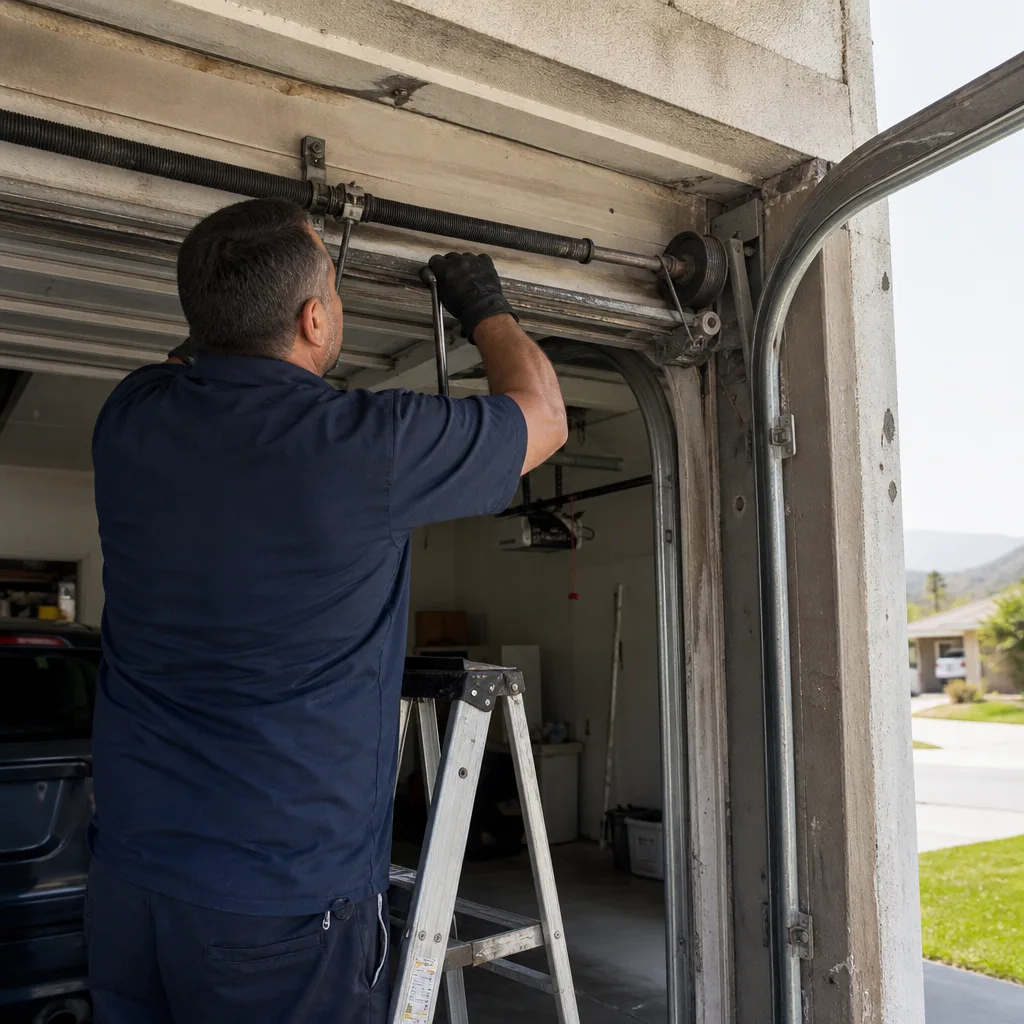
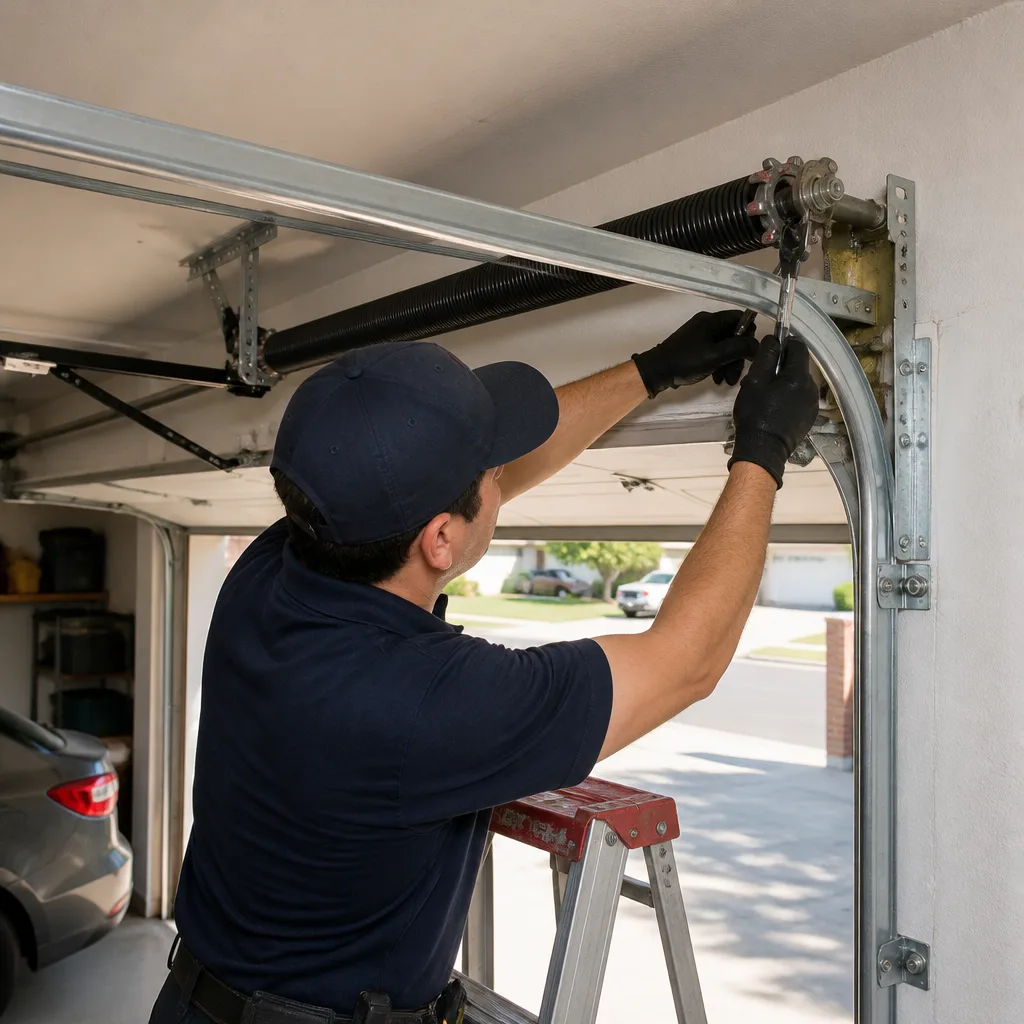
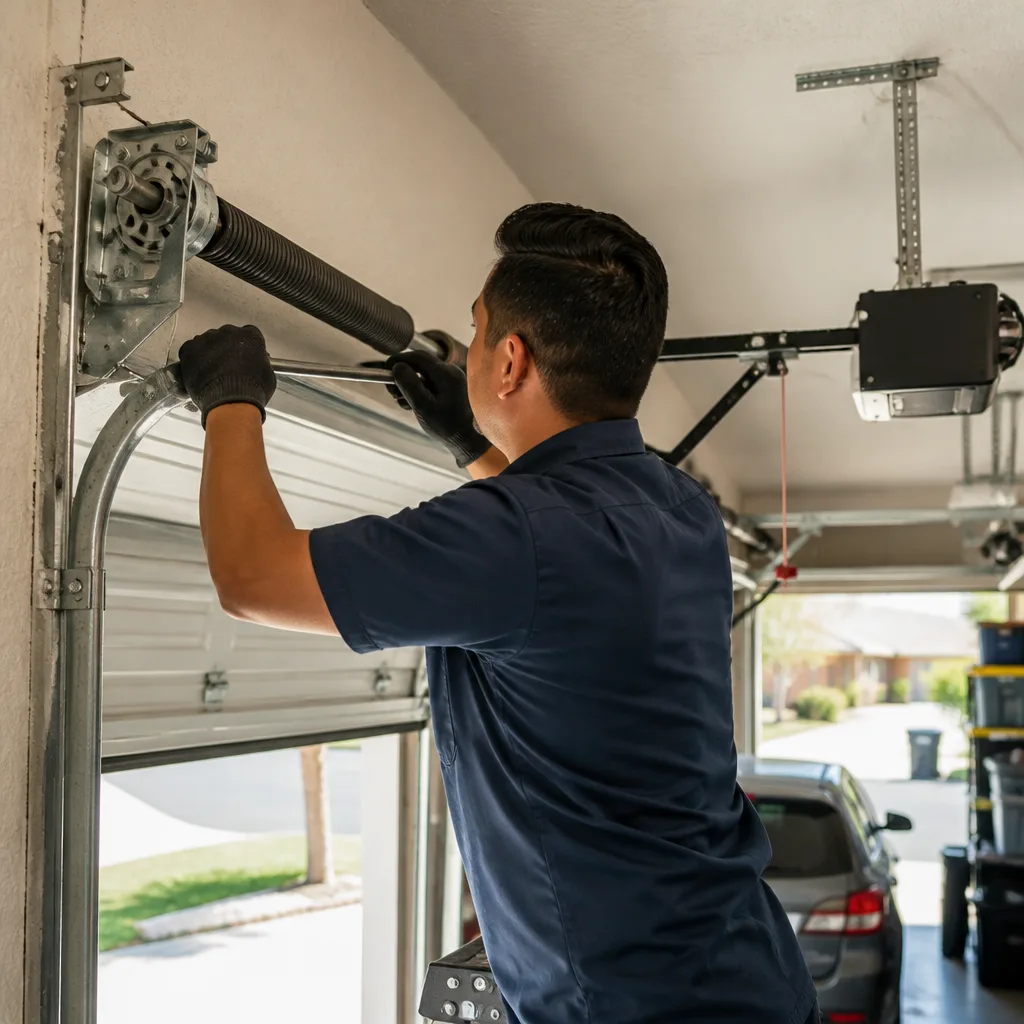
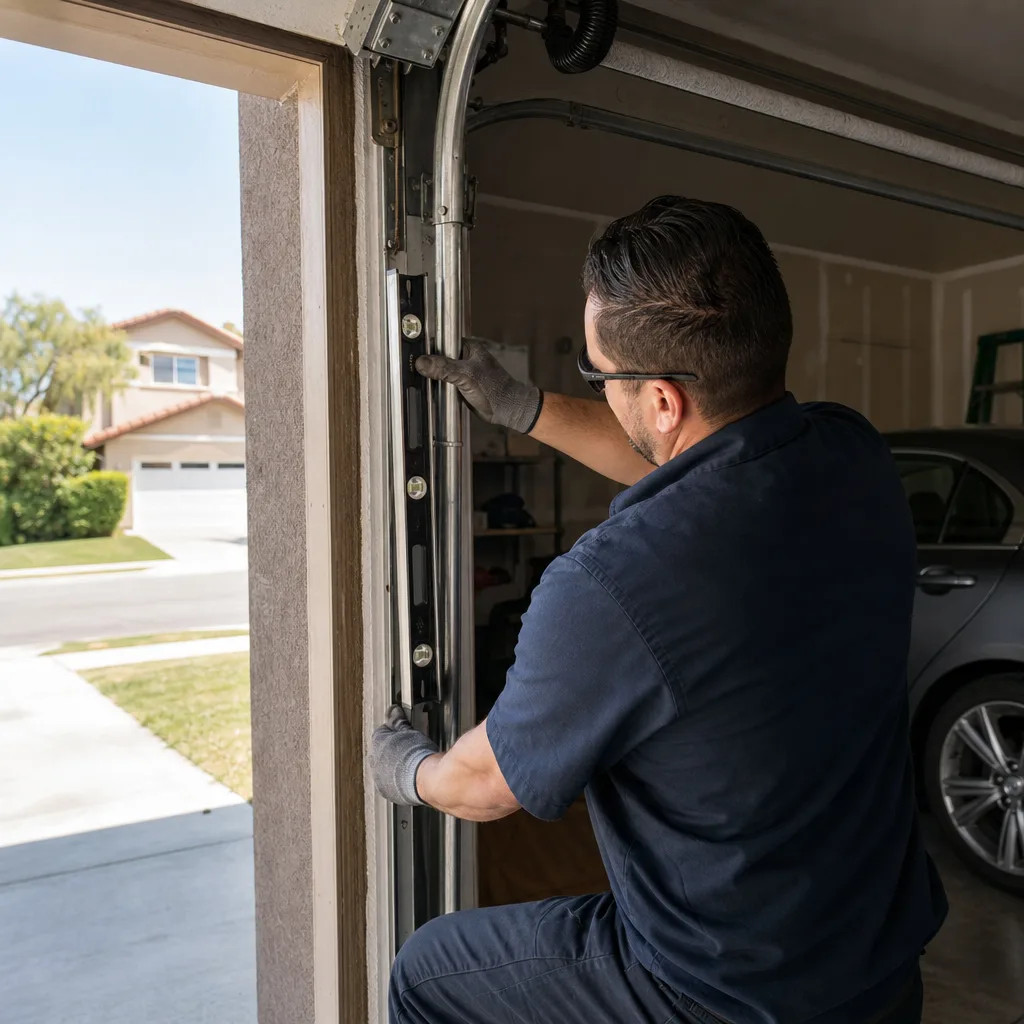
Torsion springs are the coiled steel shafts mounted horizontally above your door opening. They counterbalance the door’s weight, which on a double-car garage door in Rancho Cucamonga typically runs between 250 and 400 pounds depending on material. When the spring fails, that full weight transfers to whatever is beneath it. The failure mode is almost always metal fatigue, and it is visible before it is audible.
Here is what to look for:
- Stand inside the garage with the door closed. Look up at the spring assembly. You are looking for a gap between coils. A new torsion spring has coils that touch each other along the full length. A fatigued spring shows a visible gap: two adjacent coils that have separated by an eighth of an inch or more.
- Trace the spring from left to right. Coil separation typically starts near the center bearing bracket or near the winding cone at one end. This is where stress concentrates. Rancho Cucamonga’s summer heat cycling, with daytime temperatures above 95 degrees and overnight drops into the 60s, creates repeated thermal expansion and contraction that accelerates this separation.
- Look at the spring’s color. A new spring is matte black or dark gray with a uniform finish. A spring nearing end of life shows surface rust, flaking, or a chalky white residue where the protective coating has failed.
- Check both springs on a two-spring door. Most double doors have two springs, one on each side. If one shows signs of fatigue, the other is usually close behind. Replacing one while leaving the other is a known false economy.
We service Wayne Dalton, Craftsman, Raynor, and LiftMaster doors across Rancho Cucamonga, and the pattern is consistent: a fractured spring almost always showed visible coil separation for weeks or months before it snapped. In our experience, the customer simply never had a reason to look up. A flashlight and thirty seconds changes that.
Safety note: Do not touch, tap, or attempt to measure a torsion spring under tension. The inspection is visual only. If you see coil separation, corrosion, or a gap, leave the door closed and call a professional. The spring holds enough stored energy to cause serious injury if it releases.
Cable Fraying at the Drum and Bottom Bracket: Early, Middle, and Late-Stage Wear
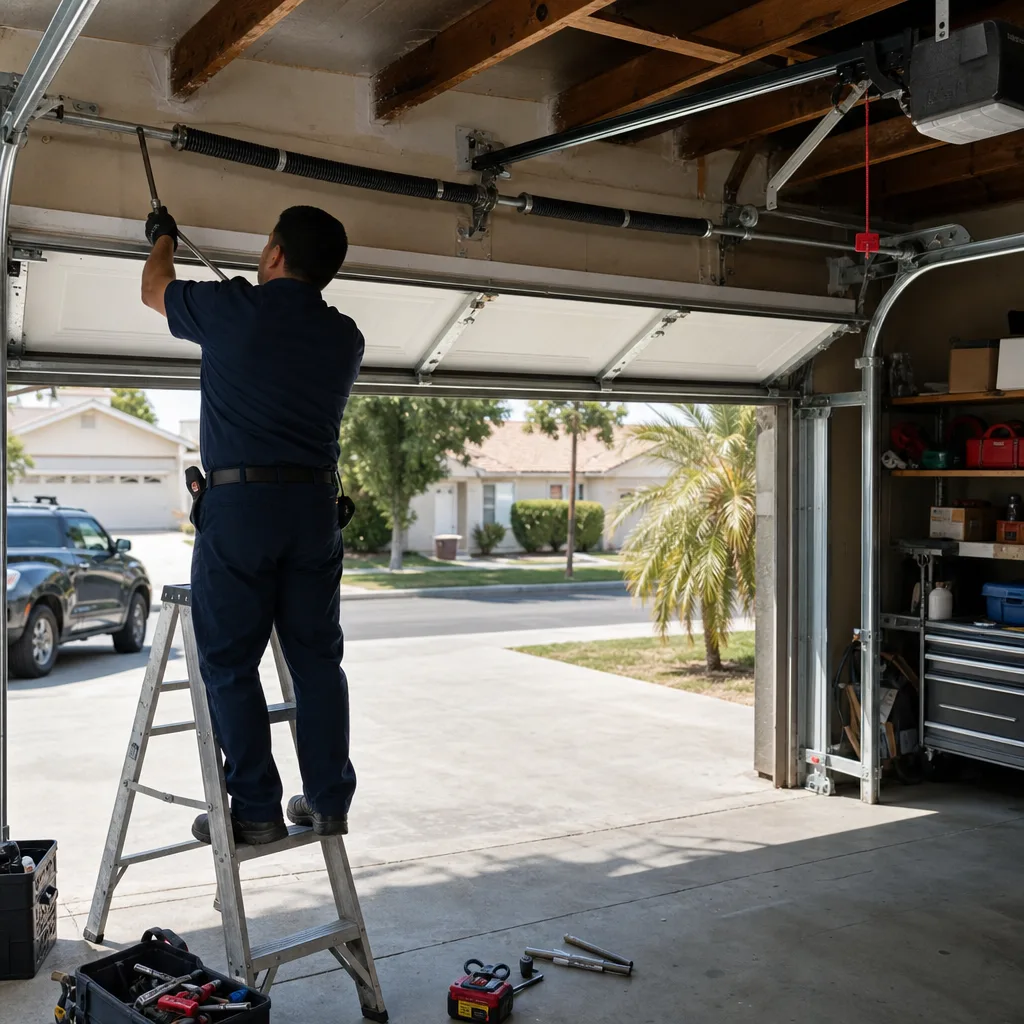
The lift cables are the braided steel lines that run from the bottom corners of the door up to the drums on the shaft above. They bear the full door weight during operation. When one fails, the door drops on one side, and the panel can rack out of its tracks entirely. Cable failure is silent right up until it isn’t.
Here is the wear scale we use when documenting cable condition for Rancho Cucamonga customers:
- Early stage: Individual wire strands appear “fuzzy” against the cable’s main body, most visible where the cable wraps around the drum. You may see one or two broken strands that stick outward. No loss of cable diameter. This is a repair-soon window: typically 30-60 days of safe operation remaining under normal use.
- Middle stage: Multiple broken strands form a visible fray, roughly the size of a pencil eraser, at a single contact point. The cable looks flattened where it passes over the bottom bracket edge. You may notice the door shifting slightly left or right as it operates. This requires service within two weeks.
- Late stage: Cable strands are separated into distinct groups, or the cable shows necking (a visible thinning). The door may hesitate or bounce at the bottom of its travel. At this point, the cable is functioning at a fraction of its rated strength and could fail on the next cycle. Stop using the door immediately.
Where to look, specifically:
- At the drum: With the door closed, stand on a ladder and inspect where the cable meets the drum at the top of the shaft. This is the highest-wear point because the cable rubs against itself as it layers onto the drum.
- At the bottom bracket: The cable loops through a bracket bolted to the bottom corner of the door. Look for the cable wearing a groove into the bracket edge, which indicates poor alignment that will accelerate fraying.
Rancho Cucamonga’s dry air is a mixed factor here. Cables suffer less from humidity-driven corrosion than they would in coastal cities, but the fine dust that blows through Alta Loma and Etiwanda during Santa Ana events settles into cable lubricant and creates a fine abrasive paste. We see slightly accelerated drum wear in neighborhoods closest to the foothills for exactly this reason.
One more thing on cables. Never handle a cable with visible fraying. The broken strands are sharp enough to puncture work gloves, and the cable is under extreme tension from the torsion spring system. This is a professional repair, full stop.
The Door Balance Test: A Two-Minute Check That Tells You Everything
The balance test is the single most informative diagnostic a homeowner can perform, and it requires no tools. Here is the method:
- Close the door completely. Pull the red emergency release handle to disengage the opener from the door. This handle hangs from a rope near the motor track.
- Lift the door manually to about waist height, roughly three feet off the ground.
- Let go. Do not push it down or hold it in place.
A properly balanced door will hold its position at half height, drifting no more than a few inches over five seconds. Here is what deviations mean:
- Door drifts down slowly: The springs are losing tension and no longer fully counterbalancing the door’s weight. This adds load to the opener motor on every cycle. If the door creeps down at more than roughly a foot in five seconds, spring replacement is overdue.
- Door drops quickly: A spring is broken or has lost nearly all its tension. Stop using the door. The opener is now lifting the full door weight, and the motor will fail soon. This is a same-day repair call.
- Door shoots up by itself: The springs are over-tensioned, which is less common but puts reverse strain on the cables and drums. A door that won’t stay down is also a safety hazard, because it can slam against the opener rail.
- Hesitation at the midpoint: The door pauses or labors for a split second around the halfway point of travel. This is often the first sign that the opener is working harder than it should, as the spring tension curve flattens and the motor encounters a resistance spike.
- Reversal behavior: The door starts to close, then reverses on its own before touching the floor. Many homeowners assume the safety sensors are misaligned, but mechanical resistance can trigger the same reversal. If your sensors are clean and aligned, motor strain is the next suspect.
- Current draw: If you have a LiftMaster or Chamberlain opener with a diagnostic display, a rising current draw reading across repeated cycles with the same door weight indicates increasing mechanical resistance upstream. Most homeowners won’t run this check, but a technician with a clamp meter will.
- Motor thermal cutout: The opener shuts down mid-cycle and won’t respond for several minutes. This is the built-in thermal overload protecting the motor from burnout. It is a lagging indicator: by the time you see it, the spring problem has been developing for months.
- A hot motor housing: After normal operation, the metal housing of the opener motor should be warm, not hot. If you can’t hold your hand on it for more than a few seconds, the motor is working too hard.
- A low, steady hum from the opener motor during operation.
- Light metal-on-metal clicking from steel rollers passing over track joints.
- A soft thump when the door seats against the floor.
- Grinding or crunching from the spring shaft: This indicates the bearing inside the torsion spring bracket is failing. Left alone, the shaft can bind and put lateral force on the spring itself.
- Squealing from the rollers: Nylon rollers with failing internal bearings will squeal before they seize. A seized roller then slides against the track rather than rolling, which wears a flat spot on the roller and gouges the track.
- A sharp pop or bang from above the door: A torsion spring fracture. The door will not function normally afterward, even if the opener can still lift one side. Stop using the door, and leave the opener disengaged.
- Repeated popping from track brackets: The lag screws holding the vertical track to the wall are failing, often because the wood behind them has dried and cracked in the Inland Empire heat. The track will flex under load, and eventually the door can bind mid-travel.
- Look at the bottom corner of the door on each side. You are looking for hairline cracks radiating from the bolt holes where the bracket attaches to the door panel.
- Check for rust staining around the bolt heads. Rust streaks on the door surface below the bracket often indicate that water has been sitting against the metal, which accelerates both corrosion and crack propagation.
- Look for the bracket pulling away from the door panel. A visible gap between the bracket and the door surface, or the bolts sitting at an angle, means the panel material (wood, steel, or composite) is failing around the fasteners.
- Photograph the full spring assembly from a few feet back, so the technician sees the overall configuration before they arrive. Include the center bearing bracket in the frame.
- Photograph the specific defect close up. For cable fraying, get close enough that individual broken strands are visible. For coil separation, photograph the gap from an angle that shows its width. Your phone camera will focus from about three inches; use that distance.
- Measure what you can safely measure. You cannot safely measure spring wire diameter or cable diameter, because both require handling the components. But you can measure the gap in coil separation with a ruler held near, not against, the spring. Write the number down.
- Photograph the bottom brackets on both sides, even if only one shows a problem. The healthy side becomes a reference point.
- Note the door’s behavior in one sentence. For example: “Door drifts down from half height, about a foot in five seconds.” or “Noise: metallic pop from above the door when opening, every time.”
- Lubricating a frayed cable to quiet the noise. Lubricant masks the sound but does nothing for broken strands. The cable continues to lose strength, and you’ve removed the only audible warning. Replace the cable.
- Ignoring a door that’s slow in the summer. Heat expands the metal in tracks and rollers, which can make a borderline door operate slower in Rancho Cucamonga afternoons. That slowness is a loud signal, not a seasonal quirk. Test the balance while the door is hot to get a true reading.
- Replacing one spring on a two-spring door. The untouched spring carries the same cycle count as the failed one. You’ll pay for labor twice, and the old spring will fail within months. Replace both.
- Continuing to use the door after a cable or bracket shows late-stage wear. We understand the instinct. The car is inside, and you need to get to work. But a door with a frayed cable or a cracked bottom bracket can drop without warning, and the repair cost multiplied by a dropped door includes panel damage, track replacement, and possibly opener damage. The cheaper call is the one you make before it drops.
- Assuming the opener is the problem when the door reverses. Reversal behavior points at the safety sensors, the travel limits, or the mechanical load. Jumping to the opener without testing balance means you may replace a motor that was never failing, while the actual spring problem keeps worsening underneath.
- Taking “it lasted 12 years before” as a warranty on the next one. Spring cycle ratings are based on manufacturer testing, and local conditions affect real-world performance. A spring that gave you 12 years before Rancho Cucamonga’s recent string of hotter summers may give the next one 7. Inspect on a schedule, not on faith.
- Putting off the balance test because the door “sounds fine.” The balance test is the diagnostic, not the sound. A door can be nearly silent and still be running on dead springs with the opener absorbing the load. Test twice a year regardless of noise.
For reference, the expected lift force on a balanced double door at half height is roughly 8 to 15 pounds: enough that a healthy adult can lift it with one arm. If your door feels like it weighs 40 or 50 pounds to move, the springs are effectively done.
Perform this test twice a year: once in late spring before the summer heat season, and once in late fall. We recommend it to every homeowner in Rancho Cucamonga because the region’s temperature swings work springs harder here than in more moderate climates-see our seasonal garage door care guide for year-round maintenance timing. The test takes two minutes, and it gives you data rather than guesswork.
Operator Strain Indicators: What the Motor Tells You Before It Burns Out
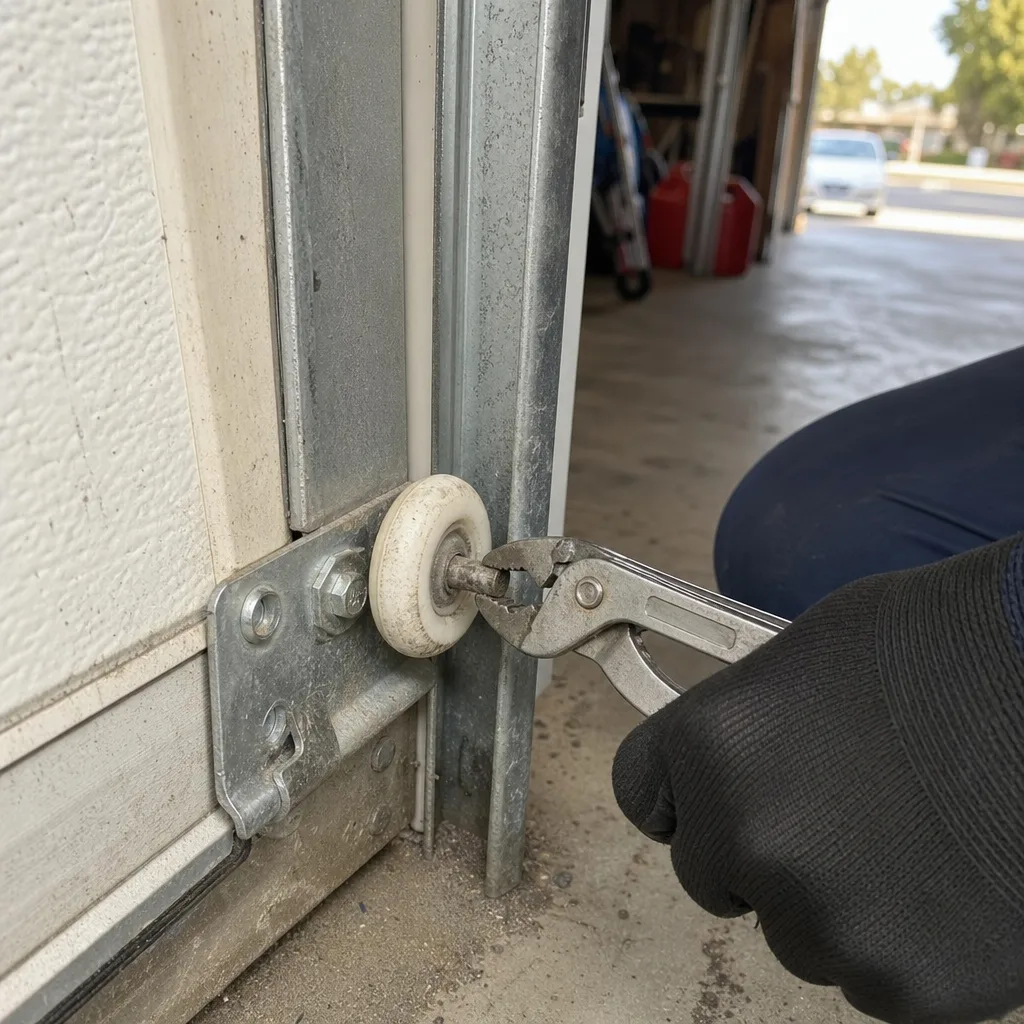
The opener motor is not designed to lift a garage door. It is designed to move a balanced door that the springs are already holding. When the springs weaken, the motor picks up the difference, and the strain shows up in observable ways long before the motor fails.
Here are the indicators we look for, in order of severity:
We’ve replaced more LiftMaster logic boards and gear assemblies in Rancho Cucamonga than we can count, and the pattern repeats every time: a weakened spring went undiagnosed for a year, and the opener paid the price. A garage door opener service call is cheaper than a full opener replacement, and both are cheaper than the combination of a failed spring and a burned-out motor at the same time. For help choosing a qualified technician, read our step-by-step guide to hiring a garage door contractor in Rancho Cucamonga.
Track, Roller, and Hinge Noise: Separating Normal from Failure
Noise is the warning sign most people notice first, because it is the only one that announces itself. The useful skill is knowing which sounds indicate a problem and which are just an older door doing its job.
Normal sounds:
Warning sounds:
Ranchero, Victoria, and Etiwanda homeowners with doors that face west get more afternoon sun on the track assembly, which heats the metal and accelerates bearing grease breakdown. If your garage door faces southwest, expect roller noise to develop faster than a neighbor whose door faces northeast. Lubrication helps, but it cannot reverse bearing wear.
Bottom Bracket Cracks: The Most Dangerous Problem Nobody Photographs
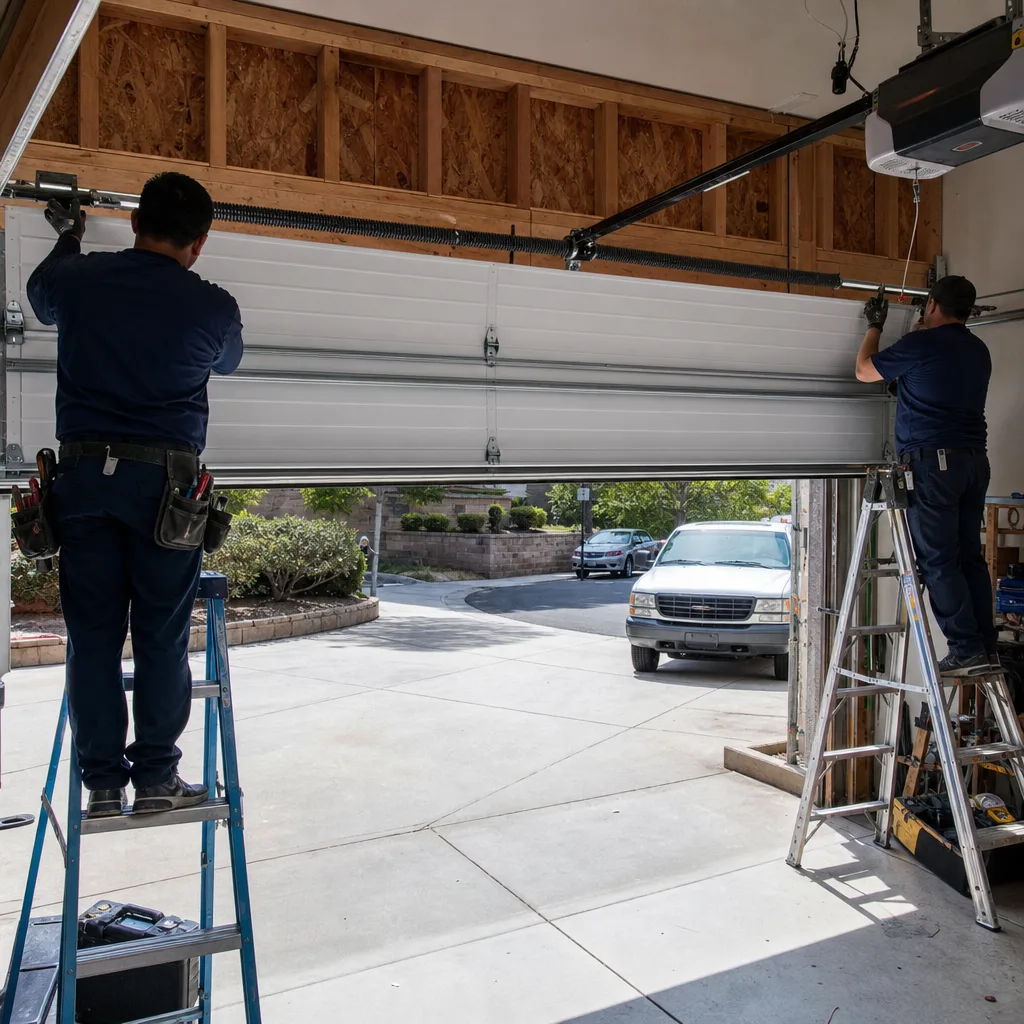
The bottom bracket is a stamped or cast steel fitting bolted to each lower corner of the door. The lift cable loops through it, which means the bracket carries the entire tension load of the cable on every cycle. A crack here is the closest thing a garage door has to a time bomb, because the failure produces no noise or visible symptom until the cable releases and the loaded side of the door drops.
Here is what to check:
In Rancho Cucamonga, we see a specific pattern on doors installed before 2010: the original bottom brackets were under-specified for the door weight, and thermal cycling in the garage has slowly fatigued the stamped steel. A Wayne Dalton or Raynor door from that era with original brackets is at higher statistical risk than newer models, but we find cracks on every brand.
Do not attempt to tighten, adjust, or replace a bottom bracket yourself. The cable tension is live, and the bracket can fail catastrophically while you are working on it. This is a professional repair, and it is one of the few where we recommend shutting the door and not using it again until a technician arrives.
What to Document When You See a Warning Sign
If you spot any of the warning signs in this guide, take five minutes to build a small evidence file before you call anyone. Good documentation makes a technician’s job faster and makes your quote defensible. Here is what to capture:
This is the same documentation standard we bring to every service call in Rancho Cucamonga. Clause 4 of The Haven Standard requires our technicians to photograph the failed component before quoting a replacement, and every customer receives that photo record at the end of the visit. Your five minutes of documentation mirrors that principle: evidence before opinions, measurement before estimates. When you call for service, you’ll be able to describe exactly what you found. That makes the phone call shorter and the on-site visit faster.
Common Mistakes to Avoid
When to Call a Professional
Call a professional when you see coil separation on a torsion spring, when a cable shows a visible fray at any contact point, when a bottom bracket shows a crack or a gap, when the door fails the balance test, or when the opener shows signs of strain: repeated reversal, thermal cutout, or a hot motor housing. These are not conditions that improve with time. Each represents stored energy or load transfer, and each has already begun the failure sequence.
If you’re not comfortable putting the door on the wear scale yourself, that’s fine. A trained technician can perform the full inspection in about 20 minutes. Garage Door Repair in Rancho Cucamonga from Servo Garage Doors Rancho Cucamonga includes a written price and written scope before any work starts, and you’ll receive a photo record of what we found on completion. Call (909) 498-8655 for a free estimate in Rancho Cucamonga, Alta Loma, Etiwanda, and the surrounding area.
Frequently Asked Questions
Most torsion springs in Rancho Cucamonga last seven to nine years, depending on usage cycles and how often the door is operated. The region’s summer heat cycles, with daytime temperatures above 95 degrees and overnight drops into the 60s, accelerate metal fatigue from thermal expansion and contraction. A double-car garage door that cycles open and closed six times a day will burn through spring life faster than one used twice a day.
Spring replacement in Rancho Cucamonga typically runs $240 to $480 for a pair of torsion springs, including labor, depending on spring size, wire diameter, and whether the door has one spring or two. The parts themselves range from $60 to $180 per spring depending on cycle rating. Call (909) 498-8655 for an exact written quote. Our pricing is flat and written before any work starts, per Clause 1 of The Haven Standard.
No. Torsion and extension springs are under extreme tension, and the torsion spring alone stores roughly 300 pounds of force. The winding process requires specialized bars and a specific procedure, and an error can cause serious injury. This is one repair where the professional recommendation is absolute. Leave the door closed and call a professional.
An off-balance door often sounds strained: the opener motor lugs, the door hesitates at the midpoint of travel, and you may hear a creaking from the spring shaft that wasn’t there before. Some off-balance doors are nearly silent, which is why the sound test alone isn’t enough. The manual balance test, lifting the door to half height with the opener disengaged, is more reliable than listening.
You should consider replacement when the door has multiple failed components: a cracked panel, a rusted-through bottom section, and a spring system near end of life. A new door with a new spring system is often cheaper than repairing all three items separately. Garage Door Installation in Rancho Cucamonga with Servo includes a new spring system matched to the door weight, which resets the cycle clock on your hardware.
Yes. We provide 24-hour emergency garage door service in Rancho Cucamonga and the surrounding area, answered by a live person at any hour. For non-emergency issues, we schedule within one to two business days. For exact scheduling, call (909) 498-8655. Every repair closes with a documented photo record, so you’ll see what was found and what was done.
Summer heat in Rancho Cucamonga expands the metal in tracks and rollers, which increases mechanical resistance. If your springs are already weak, the added resistance can push the opener past its safety threshold for motor load, triggering a reverse. The fix is usually not the opener: it’s the springs. Have the balance tested before replacing any electronics.
The Bottom Line
Garage door warning signs in Rancho Cucamonga are visual before they are audible. The torsion spring shows coil separation before it breaks. The cables show fraying before they drop the door. The bottom brackets show cracks before they let go. All of these are checkable with a flashlight and a few intentional minutes. If you find something, document it, stop using the door if the finding is late-stage, and call a professional. Servo Garage Doors Rancho Cucamonga home offers free estimates with a written price before any work begins across Rancho Cucamonga and the surrounding Inland Empire. For Garage Door Opener Repair & Installation in Rancho Cucamonga, or any of the warning signs in this guide, call (909) 498-8655. The inspection costs nothing, and the documentation tells you everything.
Written by Marcus Deller, Owner at Servo Garage Doors Rancho Cucamonga, serving Rancho Cucamonga since 2015. Browse our more guides & resources for homeowners.