

Last updated September 20, 2026
Full 25-point door and opener safety check with every visit - springs, cables, rollers, tracks, and your LiftMaster or Chamberlain opener included
You get a price before we start. It does not change when the truck arrives.
 Before
 After
After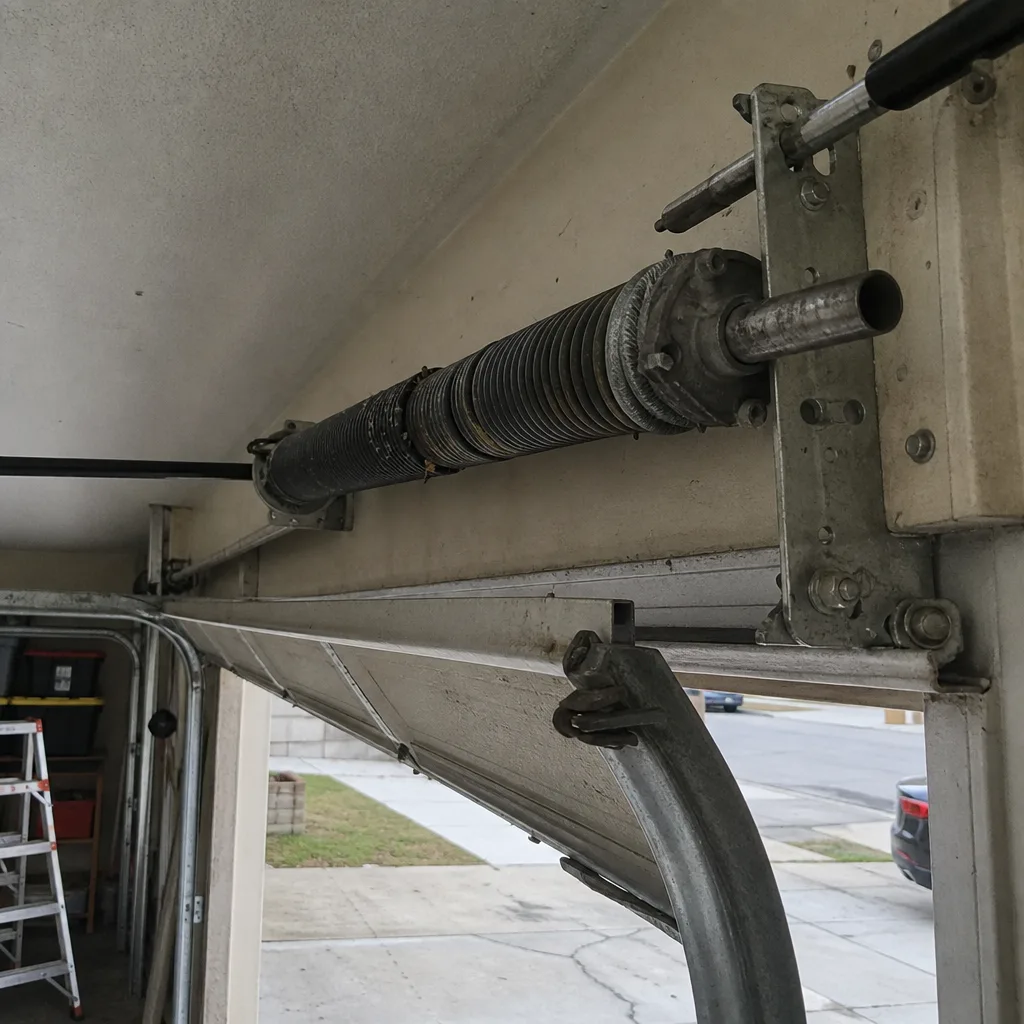 Before
 After
After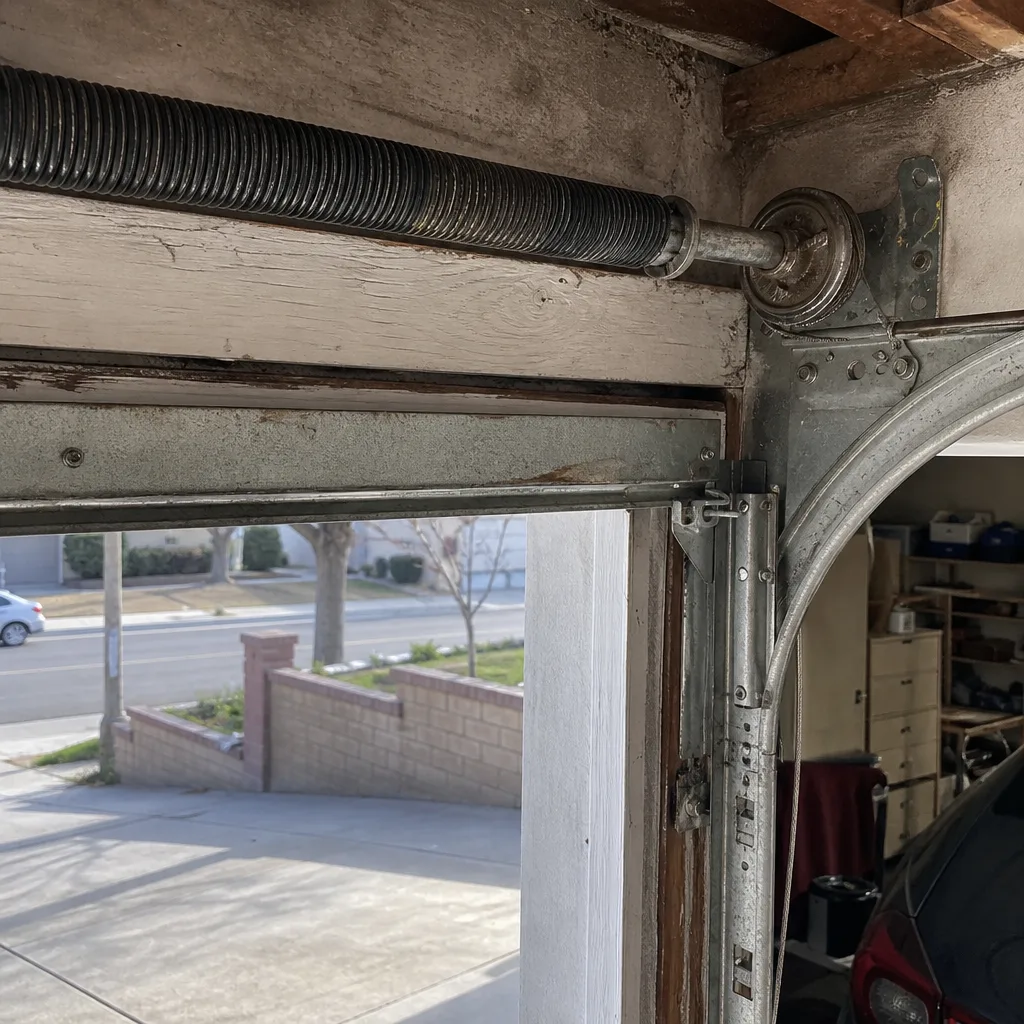 Before
 After
AfterDIY vs Professional Garage Door: The Rancho Cucamonga Homeowner’s Decision Guide
California OSHA’s General Industry Safety Order §3328 exists because torsion springs, the steel coils mounted above your garage door, release stored mechanical energy when they fail. That citation never appears in a YouTube tutorial, but it determines who carries the liability when a spring snaps during a Sunday afternoon repair in Rancho Cucamonga. This guide draws the line between what you should reasonably handle yourself and what requires a C-61/D-28 licensed professional, not by your confidence level, but by the component involved. By the end, you’ll know exactly which three garage door parts are non-negotiable professional territory and which four tasks you can complete this weekend with a socket set and a stepladder.
Quick Answer
In Rancho Cucamonga, the DIY versus professional garage door decision comes down to stored energy and structural load, not handiness. Torsion spring replacement, cable replacement, and bottom bracket work carry documented injury risk and should always go to a licensed C-61/D-28 contractor. Weatherstripping, adhesive-mount bottom seal replacement, lubrication, and safety sensor alignment are legitimate DIY tasks with no stored-energy exposure, no permit triggers, and straightforward reversal if you get them wrong. For a full list of what to check and when, see our Garage Door Repair Maintenance Checklist for Rancho Cucamonga Homeowners.
Table of Contents
- The Hard Line: Three Components You Should Not Touch
- The Clear DIY Column: Four Tasks You Can Handle This Weekend
- The Gray Zone: Opener Installation, Roller Replacement, Track Adjustment
- California Contractor Law: When You Can Legally Do Your Own Work
- The Real Cost Comparison: What You Actually Save vs. What Failure Costs
- Rancho Cucamonga-Specific Factors: Climate, Code, and Market
- What to Check Before You Decide: A 10-Minute Diagnostic
- Common Mistakes to Avoid
- When to Call a Professional
- Frequently Asked Questions
- The Bottom Line
BeforeAfterThe Hard Line: Three Components You Should Not Touch
Torsion springs, lift cables, and bottom brackets are the three components where the math on DIY does not hold, regardless of your mechanical skill. These are the parts under stored energy or structural load. When they fail, they fail violently. When they fail quietly, they drop a door on whatever is beneath them.
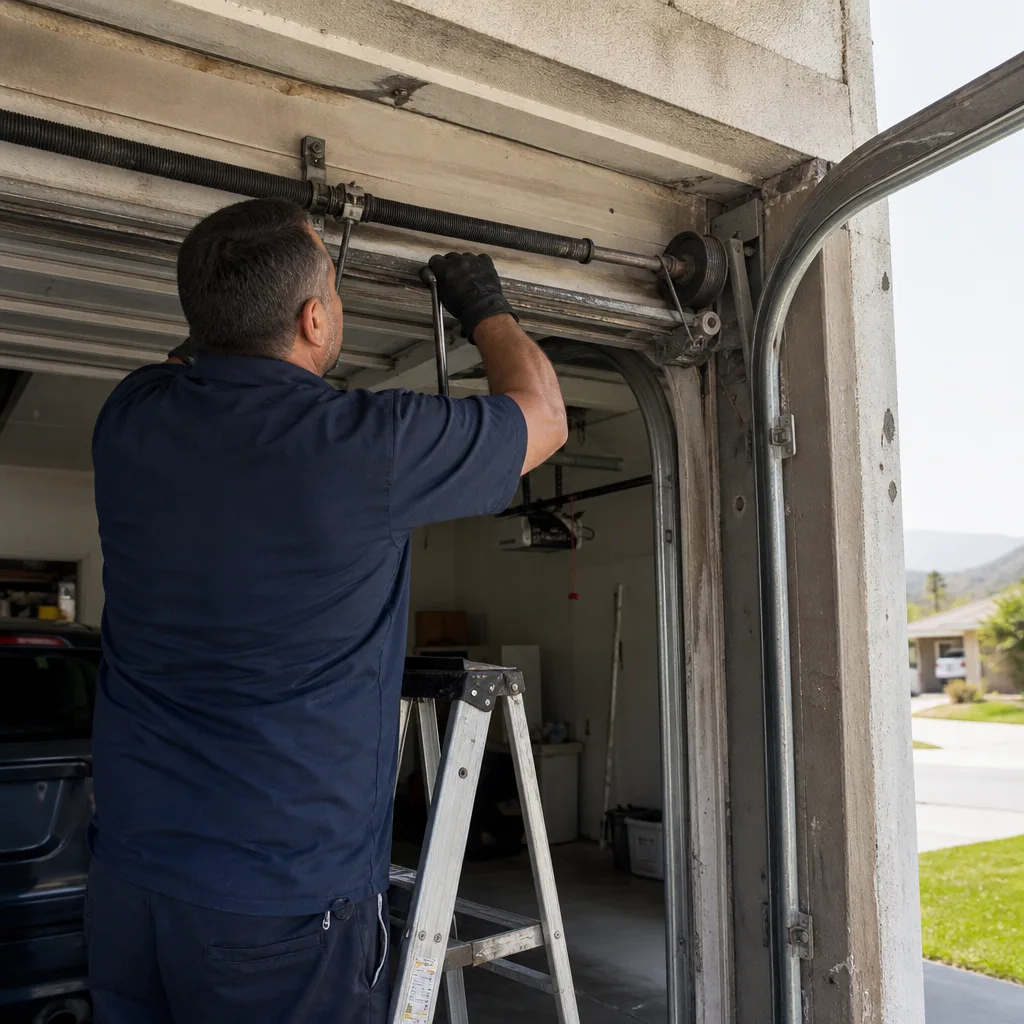
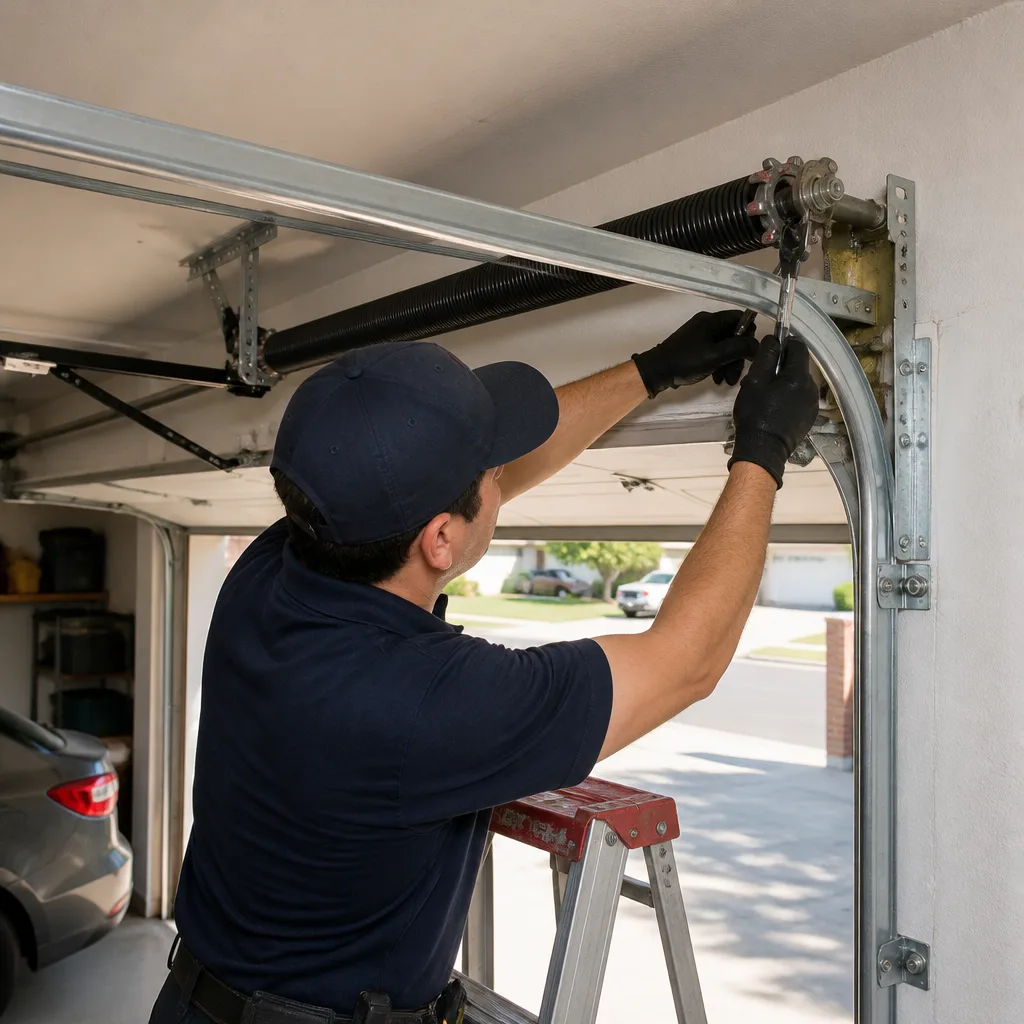
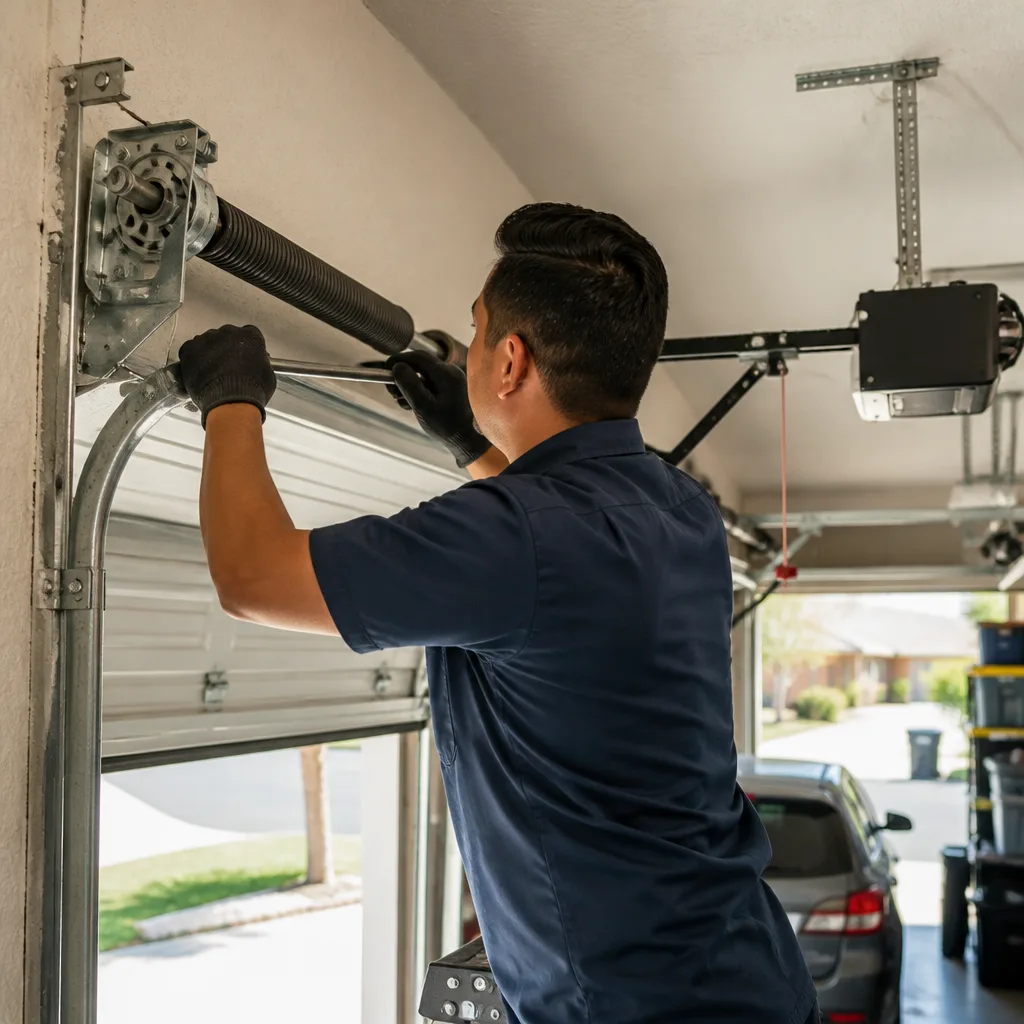
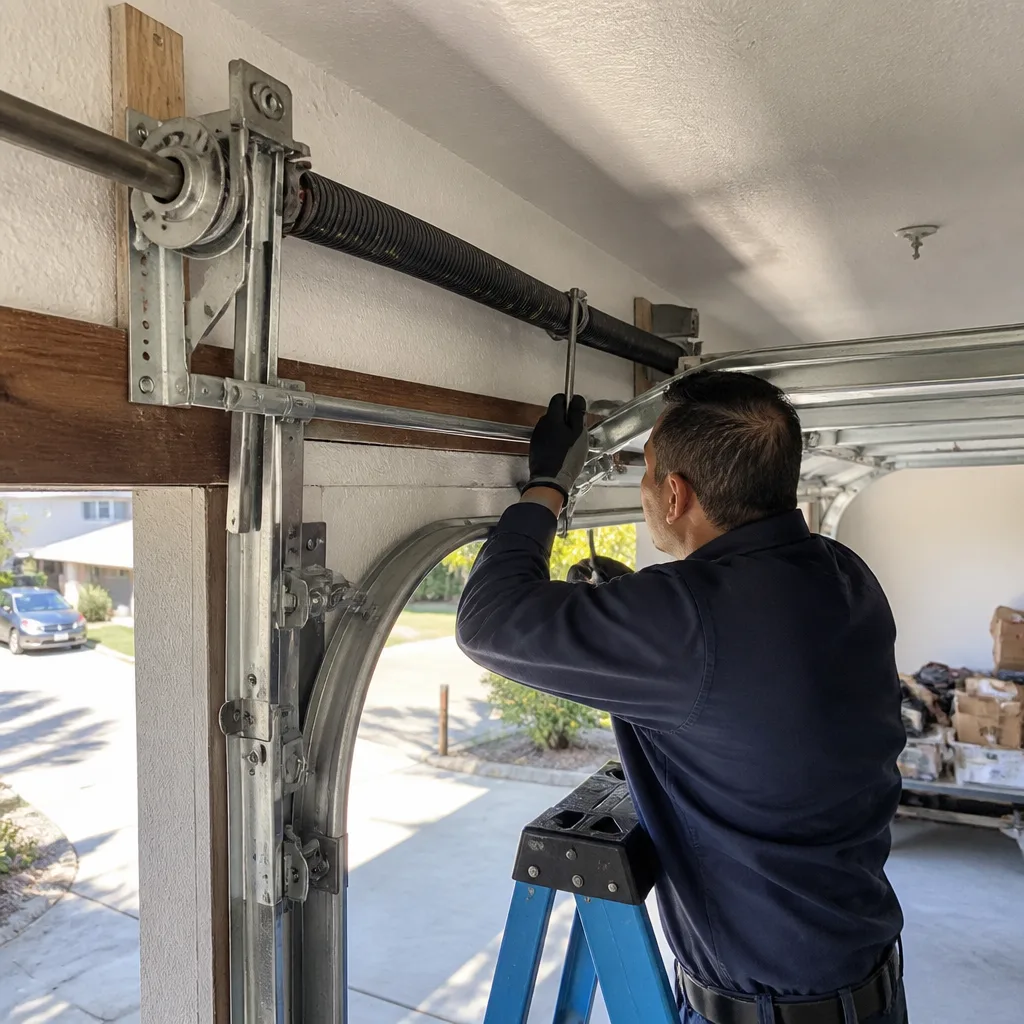
Torsion springs are the coil springs mounted on a steel shaft above the door opening. In Rancho Cucamonga’s residential neighborhoods, from Etiwanda to Alta Loma, the standard torsion spring carries between 130 and 250 pounds of torque when the door is closed. That energy is always present, even when the door sits still. A spring that snaps while you are adjusting it releases that torque through whatever is in its path, usually the winding bars in your hands. This is not a hand-strength issue. It is an energy-transfer issue. The industry shorthand is that a quarter-inch of spring unwinds before you realize something is wrong, and by then the physics has already happened.
Lift cables run from the bottom brackets, up the sides of the door, and around the drums at the top. They carry the full weight of the door whenever it moves. A frayed cable in a Rancho Cucamonga garage that sees 100-degree summer afternoons and dry Santa Ana wind stretches differently than a cable in a coastal garage. When a cable parts, the door’s weight transfers unevenly, and the panel typically jumps a track or slams down. Replacing a cable requires releasing the spring tension first. If you release a torsion spring incorrectly, you create the exact failure mode the spring was designed to prevent.
Bottom brackets hold the bottom corners of the door to the cable system. They also anchor the bottom rollers. If you remove a bottom bracket while the lift cable is still attached to it, and that cable is under tension, the bracket becomes a projectile. The bracket itself is cheap, usually $18 to $45. The reason to call a professional is not the bracket cost. It is the sequence of disassembly required to get the old bracket off without releasing stored energy into your hands.
In our experience, we have been called to Rancho Cucamonga homes after all three of these components failed during a DIY attempt. The common thread in every case is that the homeowner understood what the part did. What they did not understand was what the part was doing right now: holding tension, carrying load, or both. The photo we take before quoting a replacement under Clause 4 of The Haven Standard is usually of a spring that snapped cleanly at the coil, or a cable that frayed strand by strand over months. It is evidence of what happened, and it is why this work belongs to someone who does it every week.
If your torsion spring is broken, your cable is frayed, or your bottom bracket is loose, that is the line. Stop researching and call a licensed contractor. The rest of this guide covers the tasks where DIY is genuinely reasonable.
The Clear DIY Column: Four Tasks You Can Handle This Weekend
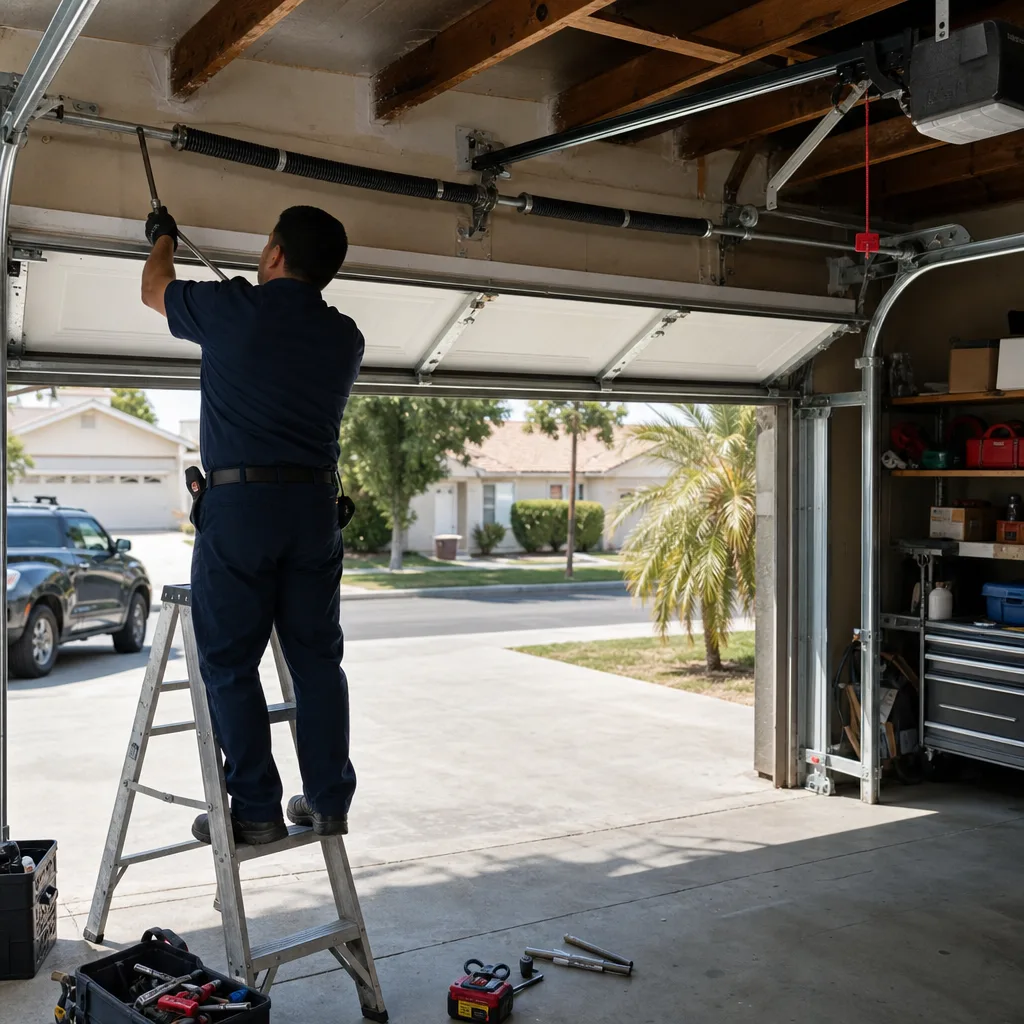
There are garage door tasks with no stored energy, no permit trigger, and straightforward reversal if you get them wrong. These are the tasks where doing it yourself saves real money, and the worst case scenario is that you redo the job, not that you go to urgent care.
- Weatherstripping replacement. The vinyl or rubber strips along the sides and top of the door frame degrade in Rancho Cucamonga’s UV-heavy summers. You can buy replacement weatherstripping at any hardware store for $8 to $25. Remove the old strip, cut the new one to length with scissors, and press it into the retainer channel. If you misalign it, pull it out and try again. Total time: 30 minutes. Total savings versus a service call: $80 to $140.
- Adhesive-mount bottom seal replacement. The rubber seal under the bottom panel is what keeps leaves, dust, and the occasional lizard out of your garage. If your existing seal slides into a metal retainer, the job is remove-and-slide. If it is an adhesive-mount type, peel off the old one, clean the metal with rubbing alcohol, and press the new seal into place. The seal itself runs $20 to $45. This is not the same as a retainer-type bottom bracket replacement, which involves the load-bearing bracket itself and belongs in the professional column.
- Lubrication. Spray white lithium grease on the torsion spring coils, the hinges, and the roller stems once or twice a year. Use a silicone-based spray on the track and the weatherstripping. Do not use WD-40 as your primary lubricant; it is a water displacer, not a long-term lubricant. A can of proper garage door lubricant costs $10 to $15. This task has no failure mode unless you spray lubricant onto the door’s surface and then touch it, which leaves fingerprints, which is not a structural problem.
- Safety sensor alignment. The two photo-eye sensors near the bottom of each track are connected to the opener’s logic board. When the invisible beam between them is interrupted, the door refuses to close. Misalignment is the most common cause, and the fix is a small adjustment knob. Loosen the wing nut, aim the sensor so both indicator lights are solid, and tighten. This is a 10-minute task. If realigning does not fix the issue and the light stays off, the problem has moved into wiring or logic board territory, and that is no longer the DIY column.
These four tasks account for a large share of the garage door issues we hear about from Rancho Cucamonga homeowners. They are also the tasks where a YouTube tutorial actually matches reality, because nothing in the video involves releasing tension from a loaded spring. The line is the spring. Everything else follows from that.
The Gray Zone: Opener Installation, Roller Replacement, Track Adjustment
Three tasks sit in a genuine gray zone: garage door opener installation, roller replacement, and track adjustment. Each one is assessed by three questions: whether the door is already off its tracks, whether a permit is triggered, and what the failure mode looks like.
Opener installation
A new opener, such as a Genie or LiftMaster belt-drive unit, typically costs $180 to $450 for the unit itself. Professional installation in Rancho Cucamonga typically adds $250 to $500. The DIY route saves that labor, and a prepared homeowner with a ladder, a power drill, and an afternoon can reasonably install an opener on a door that is properly balanced. The critical check is door balance. Disconnect the opener, lift the door manually to waist height, and let go. A balanced door stays put. A door that climbs or drops has a spring tension problem, and installing an opener on an unbalanced door destroys the opener’s motor and logic board within a year. If the door balances, DIY opener installation is defensible. If it does not, you are now doing two jobs: a spring adjustment you should not do and an opener installation you were not ready for.
Roller replacement
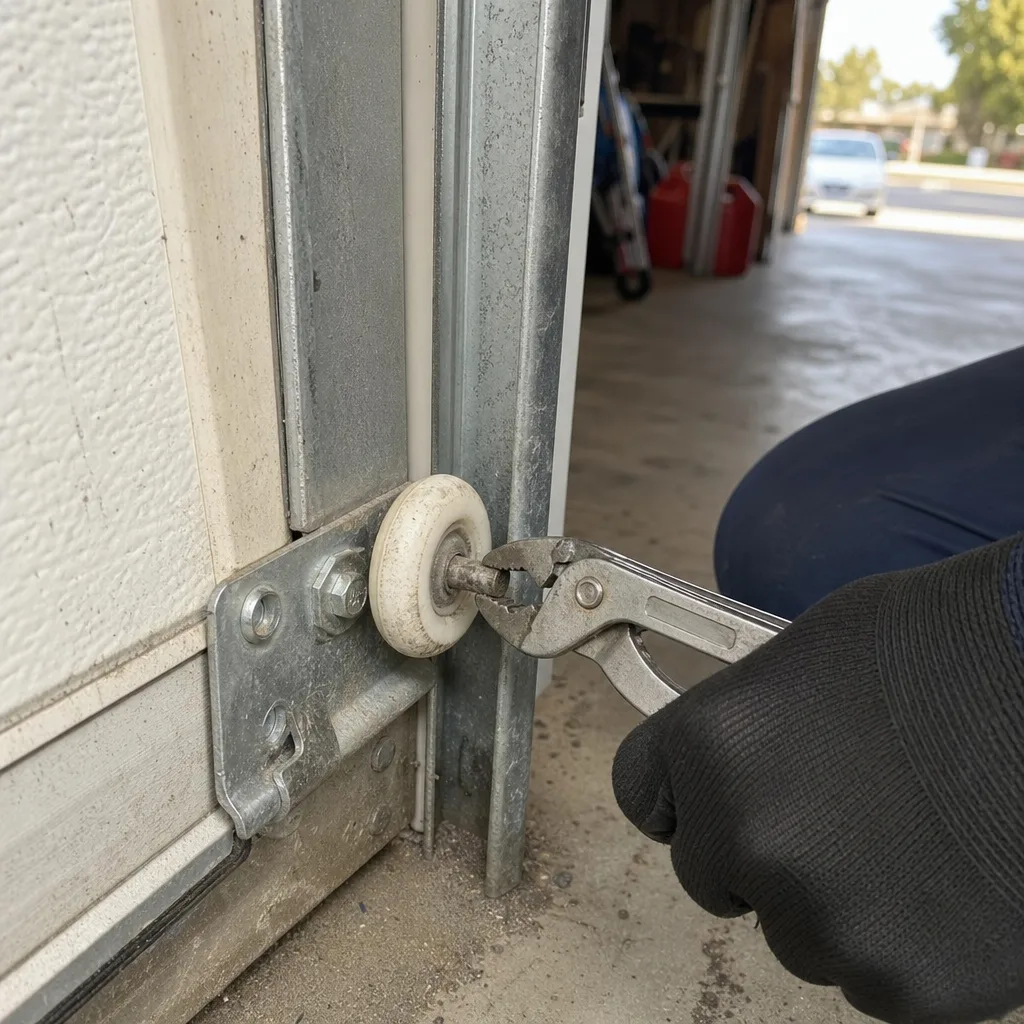
Rollers wear out. Nylon rollers, the quiet ones, last 5 to 7 years. Steel rollers last longer but are louder. Replacing the top and middle rollers is straightforward: they are not under the tension retained by the bottom brackets. The bottom rollers, however, are part of the bottom bracket assembly and the cable attachment point. Those are not accessible without releasing tension. So the rule is: replace the top and middle rollers yourself if you want. Leave the bottom two to a professional, or better, replace all of them when a service call already brings a technician to the house.
Track adjustment
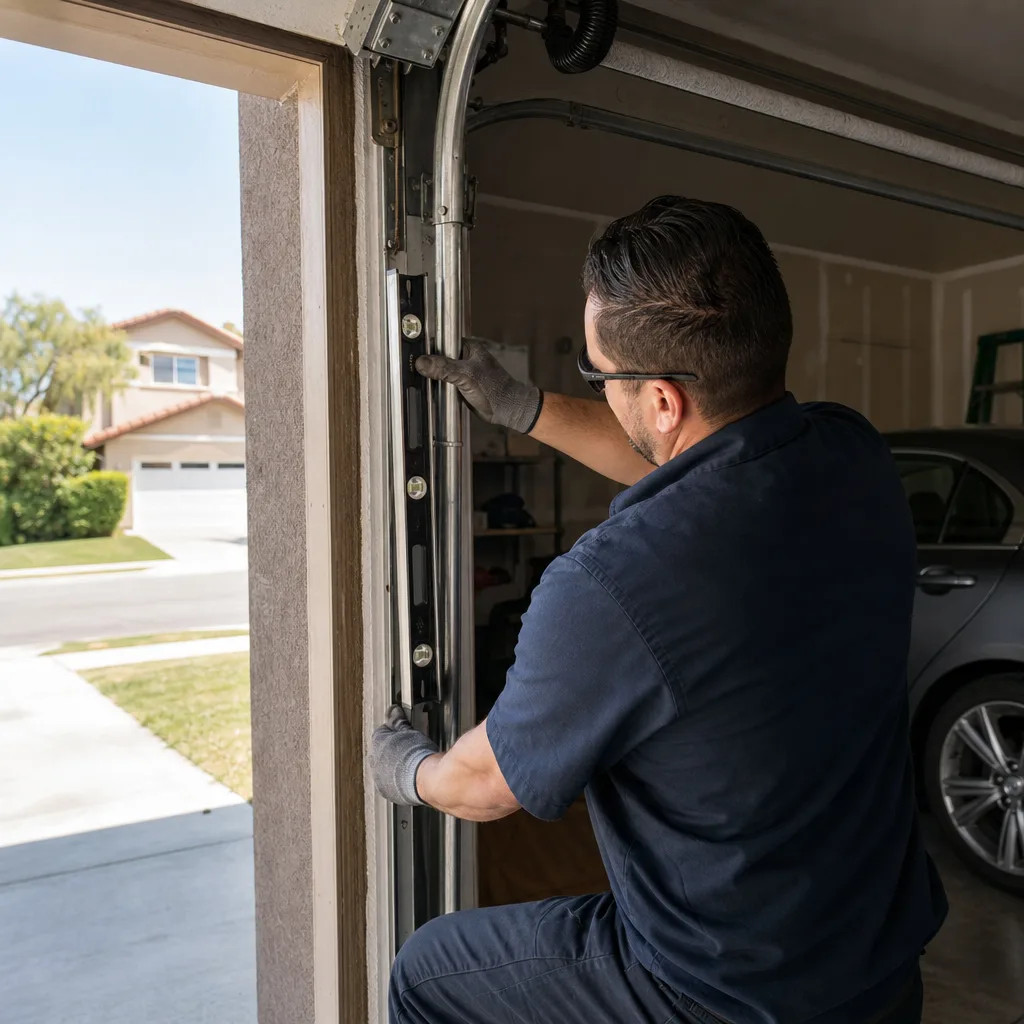
Tracks guide the rollers. If a track is visually out of plumb or has a visible gap at a joint, you can loosen the track bolts and re-align it with a level. The door should be fully closed, the opener disconnected, and the door should be locked in place so it cannot move. If the track is bent, not just misaligned, the repair is not an adjustment. A bent track requires replacement and a check of the other track to see what force bent the first one. Here is the failure mode of DIY track adjustment to respect: you loosen the track, the door shifts, and suddenly you are standing under a 350-pound door held by something you just loosened. If the door is off its tracks when you find it, that is professional territory, not a gray zone.
For all three gray-zone tasks, the decision tree is the same. If the door is on its tracks, balanced, and you can see both ends of the job, you can take a run at it. If any one of those three conditions is not met, the failure mode you are creating is more serious than the repair you are trying to complete. When in doubt, a garage door repair in Rancho Cucamonga professional can assess the situation and give you a written price before any work begins, which makes the decision easier to make with actual numbers in hand.
California Contractor Law: When You Can Legally Do Your Own Work
California law draws a specific line between what a homeowner can do and what requires a licensed contractor. For garage doors, that line is the contractor classification C-61/D-28, which covers door and gate installation and repair. Any work performed for compensation on someone else’s property requires this license. Work performed by a homeowner on their own primary residence is a different category. For details on when permits apply, read our guide to Garage Door Permits, Codes & Inspections in CA: What You Need to Know.
The owner-builder exemption in California allows a homeowner to perform construction, alteration, or repair work on their own property without holding a contractor’s license. The key constraints: the work must be on your own residence, you must do the work yourself or with direct volunteers, and you cannot sell the property within a year of completing the work without certain disclosures. This exemption is what makes DIY garage door work legal in Rancho Cucamonga for a homeowner working on their own house. It is also what makes it illegal for your unlicensed neighbor to accept $100 to fix your spring.
Here is the distinction most guides miss. The owner-builder exemption removes the licensing requirement. It does not remove the liability. If you do the work yourself and someone is injured, that is on your homeowner’s insurance. If you hire an unlicensed person and they are injured on your property, you are the employer in the eyes of California law, and you are responsible for the injury. A licensed C-61/D-28 contractor carries the workers’ compensation and liability coverage that follows the work. That is the legal structure behind the practical advice in this guide. The spring is not more dangerous because it is illegal to touch. It is more dangerous because it is loaded. The licensing question is about what happens after something goes wrong.
Permits are a separate question. In Rancho Cucamonga, a like-for-like replacement of a garage door opener or repair of existing components typically does not require a building permit. A structural change, such as widening a door opening, changing from a single door to a double door, or altering the framing, does require a permit through the City of Rancho Cucamonga Building & Safety Department. Installing a new door in an existing opening with no framing changes generally falls outside permit requirements, but city staff can confirm this by phone. The gray zone for permits is the same as the gray zone for safety: if the job changes what the house is, not just how the door moves, you are no longer in DIY territory.
The Real Cost Comparison: What You Actually Save vs. What Failure Costs
Most DIY versus professional comparisons inflate the professional number to make DIY look like the obvious choice. A fair comparison uses real labor rates for licensed work in Rancho Cucamonga and real failure costs when a stored-energy repair goes wrong. For a detailed breakdown of what to expect, see our Garage Door Cost Breakdown: The Rancho Cucamonga Homeowner’s Reference for 2026. Here is the actual arithmetic.
What you actually save on legitimate DIY tasks
- Weatherstripping: materials $8 to $25, professional service $80 to $140, real savings $55 to $125, time 30 minutes.
- Bottom seal (adhesive type): materials $20 to $45, professional service $90 to $150, real savings $45 to $105, time 45 minutes.
- Lubrication: materials $10 to $15, professional service $80 to $120, real savings $65 to $105, time 15 minutes.
- Sensor alignment: materials $0, professional service $70 to $110, real savings $70 to $110, time 10 minutes.
Across these four tasks, a Rancho Cucamonga homeowner saves roughly $235 to $445 per year by doing them without a service call. That is real money, and it is the reason the DIY column exists. These tasks are in your reach.
What a failed stored-energy repair costs
A torsion spring that snaps during a DIY replacement attempt has several cost layers beyond the spring itself. The spring, which was going to cost $120 to $180 regardless of who installed it. The damaged bearing plates or center bracket when the unwinding spring scored the shaft, typically $60 to $120 in parts. The garage door panel dented by a dropped winding bar or a shifted door, typically $250 to $600 for a single panel replacement. The additional labor to correct the damage, which is often higher than the original repair would have been. And then, in the worst cases, the medical bill, which no guide can put a fair number on because it depends on factors no one wants to think about while holding a winding bar.
A professional torsion spring replacement in Rancho Cucamonga typically runs $180 to $340, including the spring and the labor, with a written price quoted before any work starts. That is the number to compare against the worst case DIY scenario, not the best case. The best case DIY spring replacement saves you $150 to $250. The worst case costs thousands and involves an emergency room. The distribution is not even. The failure mode is binary: it either works perfectly or someone gets hurt, and the margin between those outcomes is often a single quarter-turn of the winding bar.
This is the reason Servo Garage Doors Rancho Cucamonga operates the way it does. The Servo Garage Doors Rancho Cucamonga home page documents what every customer receives before agreeing to work: a flat, written price and a written scope. You know the number before anyone touches the door. That removes the second fear a homeowner has, the fear that the invoice will be bigger than the quote. The first fear, the injury, is removed by experience you cannot download. Marcus Deller, the owner at Servo Garage Doors, has been making this point since 2015: you are not paying for the spring. You are paying for the person who knows what the spring is doing right now.
Rancho Cucamonga-Specific Factors: Climate, Code, and Market
Rancho Cucamonga’s garage doors work harder than the average California garage door, and the reasons are specific to this city’s climate and geography.
Heat and UV exposure. Summer temperatures in Rancho Cucamonga routinely pass 100 degrees, and the inland sun degrades rubber seals and nylon components faster than coastal climates. Weatherstripping that lasts 5 years in San Diego lasts 3 years here. Bottom seals on west-facing doors in neighborhoods like Victoria and the Vineyards crack and peel from direct afternoon sun. This is not a reason to replace seals more expensively. It is a reason to check them more often, and the adhesive-mount replacement is exactly the DIY task that pays off in this climate.
Santa Ana winds and dust. The dry offshore winds that sweep through the Inland Empire in fall and winter carry fine dust that settles into roller tracks, hinge points, and opener rail channels. The dust mixes with the white lithium grease you applied and forms a paste that accelerates roller wear. The fix is not to skip lubrication. It is to lubricate more frequently and to wipe down the tracks before you spray. This is a Rancho Cucamonga-specific maintenance note that does not appear in national guides. It comes from thousands of local service calls.
Home age and door age. Many Rancho Cucamonga neighborhoods, particularly around Etiwanda, Alta Loma, and the master-planned communities near Victoria Gardens, were built in waves between 1985 and 2005. That means a large share of the city’s garage doors are 15 to 40 years old. Amarr and Clopay doors from that era are generally sturdy, but the springs on those doors have a design life of 10,000 to 15,000 cycles, which translates to 8 to 12 years of average use. If your home was built in 2003 and you have not replaced the torsion springs, they are on borrowed time regardless of how they look. A spring that fails under load is exactly when the photo record from a professional visit becomes the difference between an informed decision and a blind one.
Permit office realities. The City of Rancho Cucamonga Building & Safety Department processes garage door permits for structural changes only. A call to their office will confirm whether your specific project triggers a permit. The owner-builder exemption applies to your own residence, as it does statewide. What we can add from direct experience is practical: the city’s inspectors are thorough about structural work, so if you are changing framing, hire the permit expertise that goes with a licensed contractor. If you are swapping weatherstripping, no one is asking for a permit and you should not feel like anyone will.
What to Check Before You Decide: A 10-Minute Diagnostic
Before you put any component in a DIY or professional column, run this diagnostic. It takes 10 minutes, requires no tools beyond a step stool and your own attention, and it tells you which path makes sense.
- Disconnect the opener. Pull the red emergency release handle hanging from the opener rail. The door now operates manually.
- Lift the door halfway and let go. A properly balanced door stays still. A door that drops has a failing spring. A door that climbs has an over-tensioned spring. Either way, stop and call a professional.
- Look at the torsion spring. Is there a visible gap in the coil? A clean break at the spring’s midpoint is the most common failure. If you see a break, the job is professional, no further diagnostic needed.
- Inspect the lift cables. Run your finger along the cable from top to bottom without wrapping your hand around it. Frays, rust, or crushed strands mean replacement, which means professional.
- Check the bottom seal. If the seal is cracked, flattened, or pulling away from the adhesive, that is your DIY task. Order the replacement and set aside an hour.
- Test the safety sensors. Close the door. If it reverses immediately and the sensor lights are blinking, realign them. If realignment does not work, the issue is in the wiring or logic board, which is professional.
- Listen for grinding or rattling. A grinding roller means a worn bearing inside the roller. A rattling track means loose mounting bolts. The first is a gray-zone roller replacement. The second is a DIY bolt-tightening task.
This diagnostic, by itself, is more useful than most garage door advice online. It routes you to the right column without requiring you to know anything about the door beyond what you just observed. The observations, not the assumptions, are the beginning of every professional inspection too. At Servo Garage Doors Rancho Cucamonga, we document what we find with a photo record on every visit, because the photo is the evidence both parties need. The diagnostic you just ran is the homeowner’s version of that same principle: see the part before you decide about the part.
Common Mistakes to Avoid
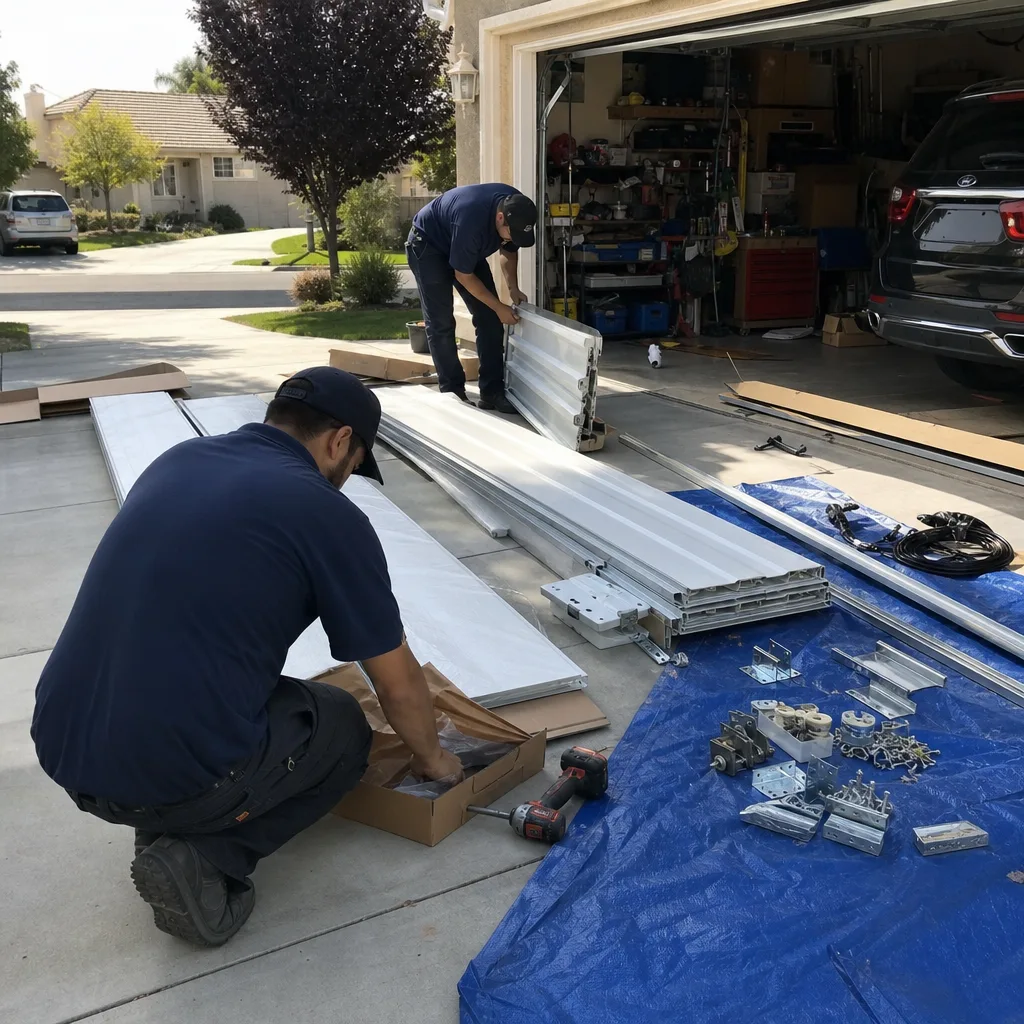
- Attempting a torsion spring replacement with the wrong tools. Winding bars are not interchangeable with screwdrivers or pry bars. The bars are sized to fit the winding cone’s holes exactly. A snug fit is the safety mechanism. Anything else can slip under torque and the bar becomes a lever against your hand.
- Applying WD-40 to everything. WD-40 is a solvent and water displacer. It cleans, but it does not lubricate a torsion spring or a roller bearing for more than a few days. Use white lithium grease on metal-to-metal contact points and silicone spray on non-metal parts. This one habit change extends component life in the Rancho Cucamonga dust-and-heat cycle.
- Removing a bottom bracket without releasing cable tension. The bracket is attached to the cable, and the cable is attached to the drum, and the drum is attached to the spring. You cannot safely access the bottom bracket without going through the spring system first. This is a sequence problem, not a strength problem, and it is the number one way homeowners hurt themselves on a visible, inexpensive part.
- Assuming a door that works is a door that is safe. Springs fail suddenly. They do not send a notice. A visual inspection for gaps, fraying, or rust takes two minutes and it is the difference between discovering a failing spring in your driveway and discovering it when the door drops on your car. In Rancho Cucamonga, where doors work year-round without a winter dormancy, the failure is more likely to come without any seasonal warning sign.
- Hiring an unlicensed handyman for stored-energy work. The owner-builder exemption protects you when you do your own work. It does not protect you when you pay someone else to do it without a C-61/D-28 license. If the unlicensed person is hurt, you are the employer. The savings on the labor is not worth the liability transfer.
- Ignoring an unbalanced door. If the door drops when you release it at waist height, the spring is losing tension. An unbalanced door strains the opener motor, wears roller bearings unevenly, and is a precursor to a full spring failure. The diagnostic catches this in step 2. Do not talk yourself out of what the door just showed you.
- Accepting a phone quote without a written scope. Any licensed contractor should provide a written price before work begins. If someone quotes a garage door repair over the phone and then shows up with a higher number, walk away. The written-price-before-work principle is Clause 1 of The Haven Standard, and it exists to eliminate the exact invoice surprise homeowners fear most.
When to Call a Professional
Call a professional when the diagnostic reveals any of the following: a broken or visibly gapped torsion spring, a frayed or rusted lift cable, a loose or damaged bottom bracket, a door that drops when released at waist height, a door off its tracks, or a safety sensor problem that persists after realignment. These conditions share a common feature: either stored energy is involved, or the door’s structural path has been compromised. In either case, the cost of professional correction is lower than the cost of DIY correction gone wrong.
Servo Garage Doors Rancho Cucamonga offers free estimates in Rancho Cucamonga. Call (909) 498-8655 and a live person answers, day or night. Every job gets a flat, written price and written scope before any work starts, and every visit closes with a documented photo record of what was found and what was done. The garage door installation in Rancho Cucamonga services all eight major brands, and the opener team handles garage door opener repair and installation in Rancho Cucamonga with the same written-price rule.
Frequently Asked Questions
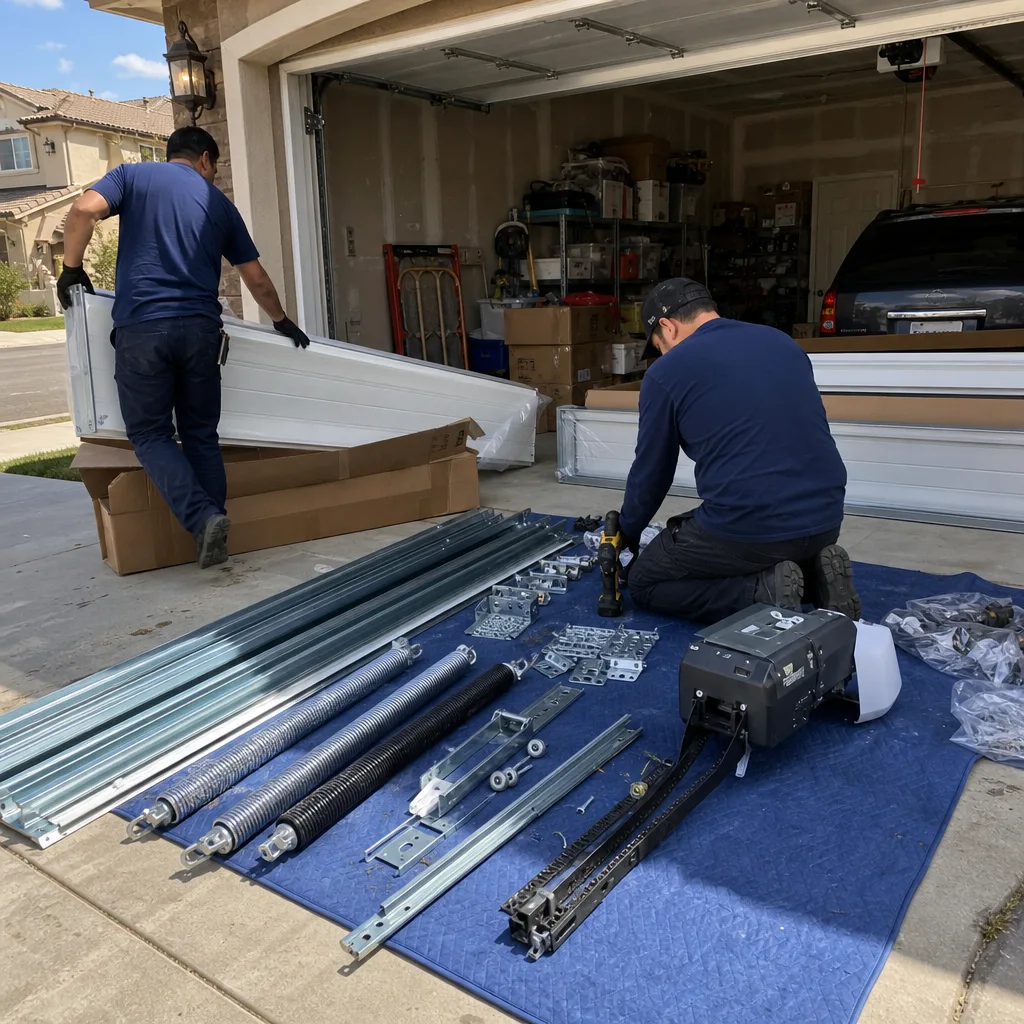
A torsion spring replacement in Rancho Cucamonga typically costs $180 to $340, including the spring and labor, with the exact price quoted in writing before any work begins. The range accounts for spring size, wire diameter, and whether one or both springs need replacement. Call (909) 498-8655 for an exact quote on your specific door.
Yes, under the owner-builder exemption, a homeowner can legally replace their own garage door spring on their own primary residence. The legality is not the issue. The stored-energy risk is. California OSHA’s General Industry Safety Order §3328 addresses this exact hazard in industrial settings, not because it is illegal for homeowners, but because the physical risk is identical regardless of who turns the winding bar.
Safe DIY garage door tasks include weatherstripping replacement, adhesive-mount bottom seal replacement, lubrication with white lithium grease or silicone spray, and safety sensor alignment. These four tasks involve no stored energy, no permit triggers, and no structural load. They account for a meaningful share of common garage door maintenance and they save real money when done correctly.
No, at Servo Garage Doors Rancho Cucamonga, the price you receive in writing before work starts is the price you pay. This is Clause 1 of The Haven Standard. If the technician finds additional issues during service, those are quoted separately in writing and approved by you before any additional work proceeds. No one starts a second job without a second written price.
Yes, Servo trucks carry the most common torsion spring sizes, lift cables, rollers, hinges, and bottom brackets, so most repairs in Rancho Cucamonga are completed the same visit. For less common parts or full door replacements, the team orders from major brands like Genie, Amarr, and Clopay, and schedule a follow-up installation once parts arrive, still with a written price before the work begins.
Like-for-like replacements and component repairs typically do not require a permit in Rancho Cucamonga. Structural changes, such as altering the door opening or changing from one door to two, do require a permit through the City of Rancho Cucamonga Building & Safety Department. When in doubt, call the city to confirm your specific project before starting work.
The Bottom Line
The DIY versus professional garage door decision in Rancho Cucamonga is a component-by-component question, and the line is clear. Weatherstripping, bottom seals, lubrication, and sensor alignment belong in your weekend toolkit. Torsion springs, lift cables, and bottom brackets belong to a licensed C-61/D-28 contractor, because stored energy does not negotiate. The gray zone of opener installation, roller replacement, and track adjustment resolves with the diagnostic: if the door is on its tracks, balanced, and the failure mode is mild, you can proceed. If any of those three conditions fails, the professional is the less expensive option. And wherever you land, insist on a written price before work starts. It is the least a contractor should give you, and it is the first thing Servo Garage Doors Rancho Cucamonga does on every job in Rancho Cucamonga. For more guides & resources, explore our blog.
Written by Marcus Deller, Owner at Servo Garage Doors Rancho Cucamonga, serving Rancho Cucamonga since 2015.